
 en
en
Killjoy Valorant Guide: Lore, Abilities, and Tips

11 Aug, 2026, 03:04
|Last updated: 11 Aug, 2026, 03:04
In the fast-paced and strategic world of VALORANT, one agent stands out as a master of control and precision: Killjoy. With her arsenal of gadgets and tactical know-how, Killjoy is an expert at locking down areas, disrupting enemy advances, and turning the tide of a match in her team's favor. To truly excel with Killjoy, understanding her abilities and playstyle is crucial.

Killjoy: Backstory and Lore
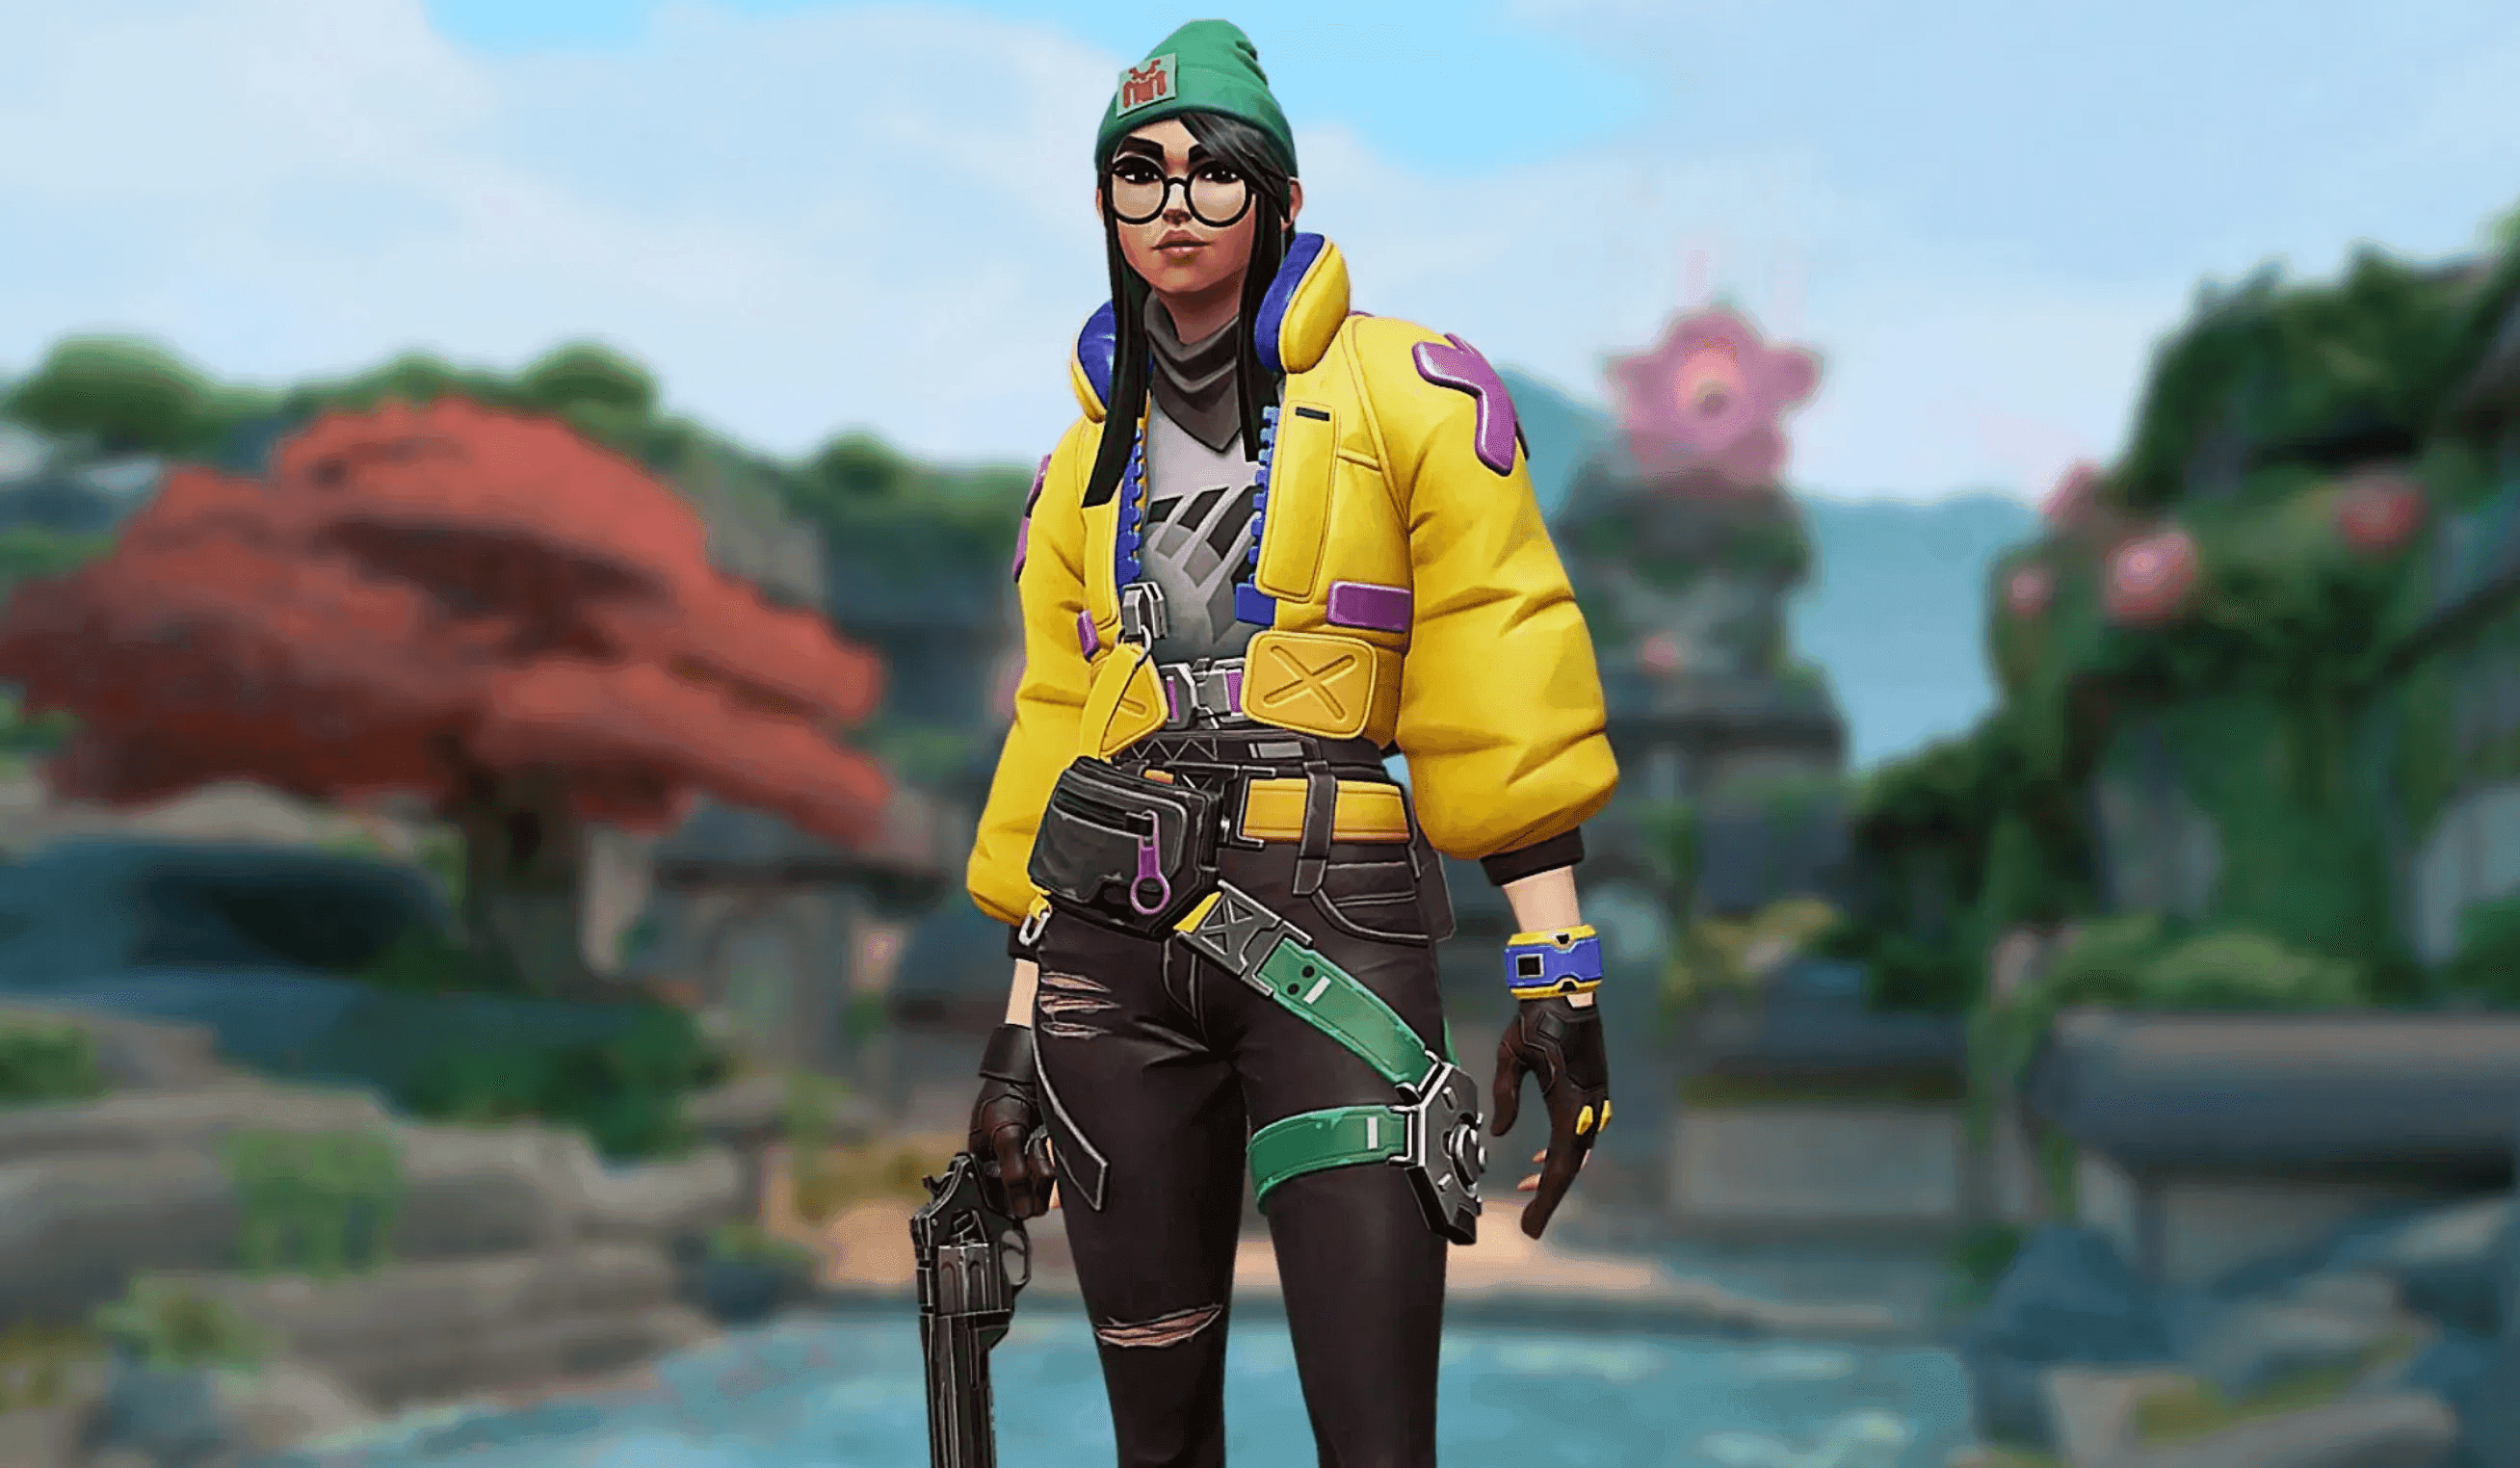
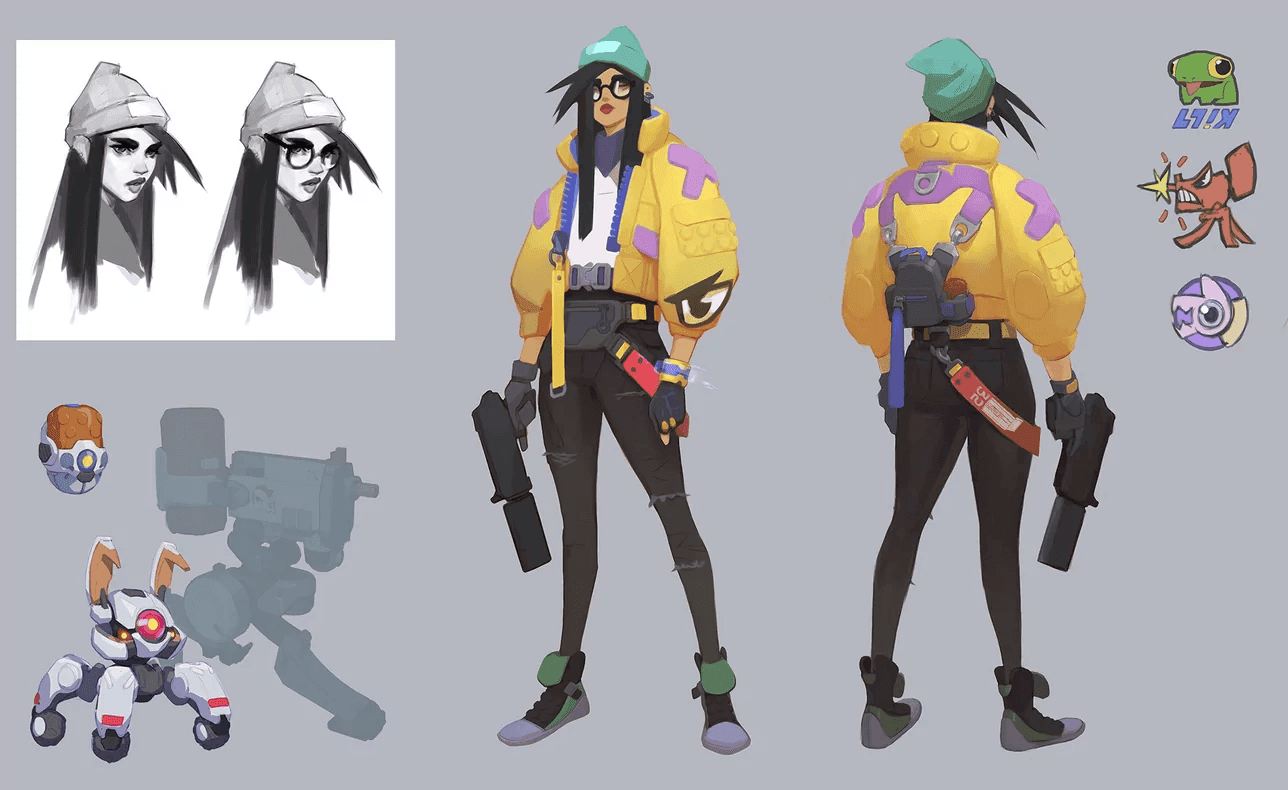
Killjoy is one of the earliest agents to join the VALORANT Protocol. Hailing from Germany, her talents as a genius inventor won her awards and esteem. At the age of 18, she was already the lead for Kingdom's Research and Development division.
At the core of Killjoy's personality is a brilliant inventor who was/is also irresponsible with regards to the consequences/use of her inventions. While she did not intend the inventions to be utilized in that fashion, she shares a portion of the blame for the destruction wrought by Kingdom with her technological aid.
Unlike other members of the VALORANT Protocol, Killjoy is not a radiant, and has no supernatural powers. Instead, she makes use of her genius intellect and skills as an inventor to fight with the aid of advanced robots, which she controls with a holographic bracelet.
Since joining the VALORANT Protocol, Killjoy has also been responsible for many of their technologies used in the field, such as Brimstone's Bracer and designing the portal that allowed the team to travel to Omega Earth.
Killjoy: Abilities Breakdown
Killjoy's abilities revolve around the concept of area denial and strategic placement. She is a sentinel agent, which means her primary role is to hold down key areas and control the flow of the game. Her abilities include:
Nanoswarm
Killjoy throws a device that, upon activation, releases a damaging nanobot swarm in a designated area. This is perfect for forcing enemies out of tight spaces, disrupting post-plant situations, or deterring enemy pushes.
Nanoswarm is Killjoy primary deterrent and is quite powerful due to its flexibility of use. Conversely, Nanoswarms are loud and can be easily spotted and destroyed by opponents when they approach it (and it hasn't been detonated).
Alarmbot
The Alarmbot is a deployable robot that triggers when enemies enter its vicinity and explodes, briefly applying the Vulnerable debuff to all enemies in the blast radius. It can be used for delaying enemy advances and pairs well with her other damage-dealing abilities due to the debuff.
However, like with all of Killjoy's abilities, it emits loud audio cues when in the vicinity. This makes placement crucial as opponents can circumnavigate it with abilities such as smokes. The Alarmbot is best used at tight chokepoints where opponents have to destroy it to cross.
Turret (Signature)
Killjoy places a turret on a surface. Turret watches in a 100 degree cone and will fire on the first enemy agent spotted, dealing damage. It has infinite ammo but can be destroyed with sufficient damage.
Unlike the Alarmbot, the Turret is generally used to hold a sight line. This is because the turret's range is incredibly long making it an effective 'tripwire' at certain points on maps.
Lockdown (Ultimate)
Killjoy equips and can place down a powerful device that immediately begins charging. When fully-charged, all enemies within the zone of effect are Detained for a duration. The device can be destroyed prior to reaching full-charge with sufficient damage.
Lockdown is a powerful round-altering ultimate when used correctly as it forces enemies to leave a space, enabling both site takes and retakes.
Tips for Mastering Killjoy's Abilities
- Combo Synergies: Combining Killjoy's abilities can lead to devastating results. For instance, you can use her turret to trigger her Nanoswarm, removing the guesswork from timing the Nanoswarm activation. Similarly, deploying an Alarmbot and a Nanoswarm simultaneously can catch enemies off guard and inflict significant damage.
- Positioning Is Key: Place your gadgets in unexpected spots to catch enemies off guard. Utilize elevated positions for the turret to increase its effectiveness and visibility, and position Nanoswarm in chokepoints or common hiding spots.
- Map Awareness: Knowing the maps inside out will help you make the most of Killjoy's abilities. Identify key chokepoints, popular entry points, and areas where enemies are likely to gather.
- Adaptability: While planning is essential, be ready to adapt on the fly. If enemies consistently avoid certain routes or quickly clear your gadgets, be prepared to adjust your strategy and gadget placement.
Strategies for Using Killjoy Effectively on Different Maps
Killjoy shines best on smaller maps/bombsites where her coverage isn't spread as thinly. Because Killjoy has the unique range limitation for her abilities to remain active, planning positioning is crucial to ensure there aren't timing gaps where enemies can slip through a disabled Turret or Alarmbot. The strongest pick reason for Killjoy over other sentinels typically comes down to Lockdown opportunities and whether that value outweighs other sentinels' strengths.
Strong Maps
- Ascent: For years, Ascent has remained as Killjoy's map. A combination of how effectively she can hold the lanes and how potent both Lockdown spots are (Tree/B-Main) made her a fixture.
- Icebox: Remains one of Killjoy's staple maps. The strength of the Turret and Alarmbot setup to hold the entirety of mid combined with strong Lockdown positions for both bombsites keep her at the top of the charts for this map.
- Split: The narrow corridors and chokepoints of Split allow Killjoy to utilize her strengths well. With how crucial Mid is, her ability to stall pushes and bunker down while rotates come in always keep her as a contender for this map. That's not even mentioning the 4 powerful Lockdown positions she has on Split.
Decent Maps
- Pearl: Picked relatively often, Killjoy offers value on defense by offering surety; holding two entryways at any time (A-Main/Art or B-Main/Street). Strong positions for Lockdown retakes and a B-site site take.
- Haven: Decent coverage for Killjoy as she has a relatively easy time holding onto B, Garage, and C with little help. That said, powerful Lockdown positions are what sell her as a pick on this map, with spots in Garage and A-Link for Defenders and Sewers for Attackers.
- Bind: Narrow chokepoints enable Killjoy as a pick on this map as she can stall relatively well. However, there is only one good Lockdown position.
- Lotus: Decent coverage once again, but even weaker than Haven in terms of holding multiple entryways. However, because Lotus' bombsites are smaller, Nanoswarm and Alarmbot value goes up. Same as Haven as well, several powerful Lockdown positions sell Killjoy as a pick on Lotus.
- Fracture: 4 ultimate orbs and a free B bombsite when Lockdown is deployed in Underpass. Killjoy is passably strong at holding onto Fracture's bombsites but can be outshined by other sentinels.
Weak Maps
- Summit: Massive map, massive bombsites, multiple corners. Everything Killjoy doesn't want to see. Decent at stalling but not much room to play and a lot of gaps for Killjoy to cover.
- Breeze: The map is too large for Killjoy to effectively set up and cover. Her Nanoswarms and Alarmbot have minimal impact and there are no good Lockdown positions.
- Abyss: Extremely long rotations and weaker bombsite design mean that Killjoy is often on the backfoot playing retake instead of bunkering down a site. This plays against her strengths, making her an extremely weak pick as a sentinel on this map.
- Corrode: Large open spaces on A, not much space to play on B. Corrode is just not a super great map for Killjoy. She can be made to work but when there's Vyse in the game that does everything a bit better, Killjoy will more than likely struggle.
- Sunset: The larger Main sizes reduce the effectiveness of Killjoy to stall. Some stall power but overall other sentinels would serve better on this map.
Playing as Killjoy in Different Team Compositions
Killjoy's excels best when left in isolation as an anchor. Consider using her in mid-range compositions where on Attack she doesn't have to play catch-up as often. Killjoy is strongest when played with the team on Attack. Her Turret and Alarmbot function as a cross-fire trigger and flank watch once you get her on-site. Nanoswarms can be used for post-plant on the Spike or in chokepoints to delay retakes.
As a lurker for flanks, she is outshined by every other sentinel because of her range limitation. If the bots are active, enemies have a decent idea where Killjoy could be. Her one clear strength as a lurker is she can be used to maintain control of a part of the map when getting pushed, better than other sentinels, facilitating fakes.
Countering Killjoy as an Opponent
To effectively counter Killjoy, consider these strategies:
- Bait and Switch: Exploit Killjoy's gadgets by using expendable agents like Reyna's Leer or Omen's Shrouded Step to draw out her abilities, leaving her vulnerable for your team to capitalize on.
- Utility Clearing: Agents like Sova can detect and eliminate Killjoy's gadgets, significantly reducing their impact on the round.
- Avoidance: Killjoy excels at locking down a particular part of the map. However, she struggles when the enemy team remains extremely mobile as both her Alarmbot and Turret have long cooldowns.
Conclusion and Final Thoughts
Killjoy's mastery lies in her ability to seize control of the battlefield with gadgets and strategic positioning. As a sentinel agent, her role is paramount in holding down areas, disrupting enemy advances, and swinging the odds in favor of her team.
By comprehending her abilities, adapting to various maps, and understanding her role in different team compositions, you can harness the true potential of Killjoy and elevate your gameplay to new heights.
Follow Strafe Esports for the latest VALORANT news, and our X account for the latest content and coverage. Also, stay tuned to Strafe's YouTube channel for exclusive interviews, press conferences, and more.
Featured Image Credit: Riot Games