
 en
en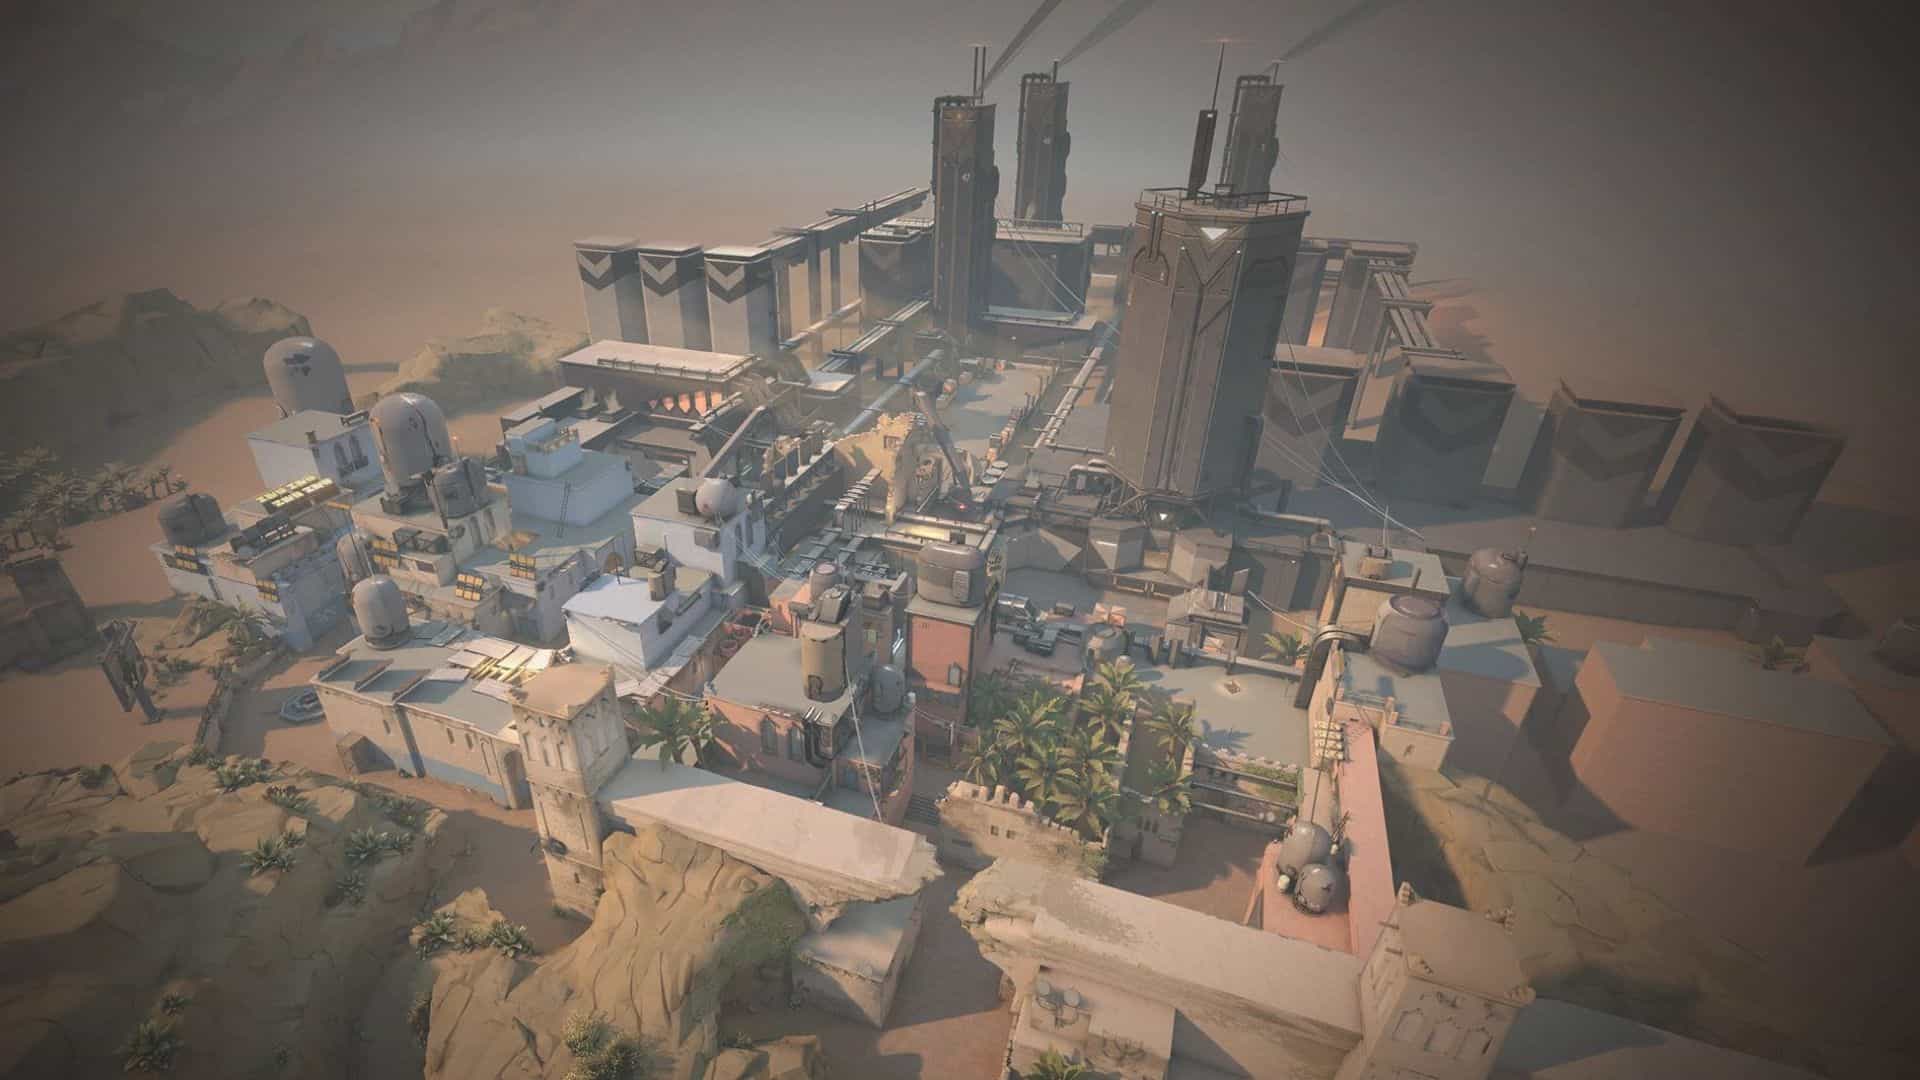
Valorant Bind Map Guide: Callouts, Angles, and Site Strategies

Bind is one of the most recognizable maps in VALORANT. Set in Rabat, Morocco, it features two Spike sites, no traditional Mid, and two one-way teleporters that enable unexpected rotations and flanks.
Its narrow corridors and multiple entry points make communication, utility usage, and map control essential for success.
This guide covers everything you need to know about Bind, including its layout, key callouts, best agents, and attack and defense strategies.
Whether you're new to the map or looking to improve your ranked performance, learning its key areas and rotation routes can help you make smarter decisions every round.
*Last updated: 15/10/2026
Bind: An Overview on the Map's Layout
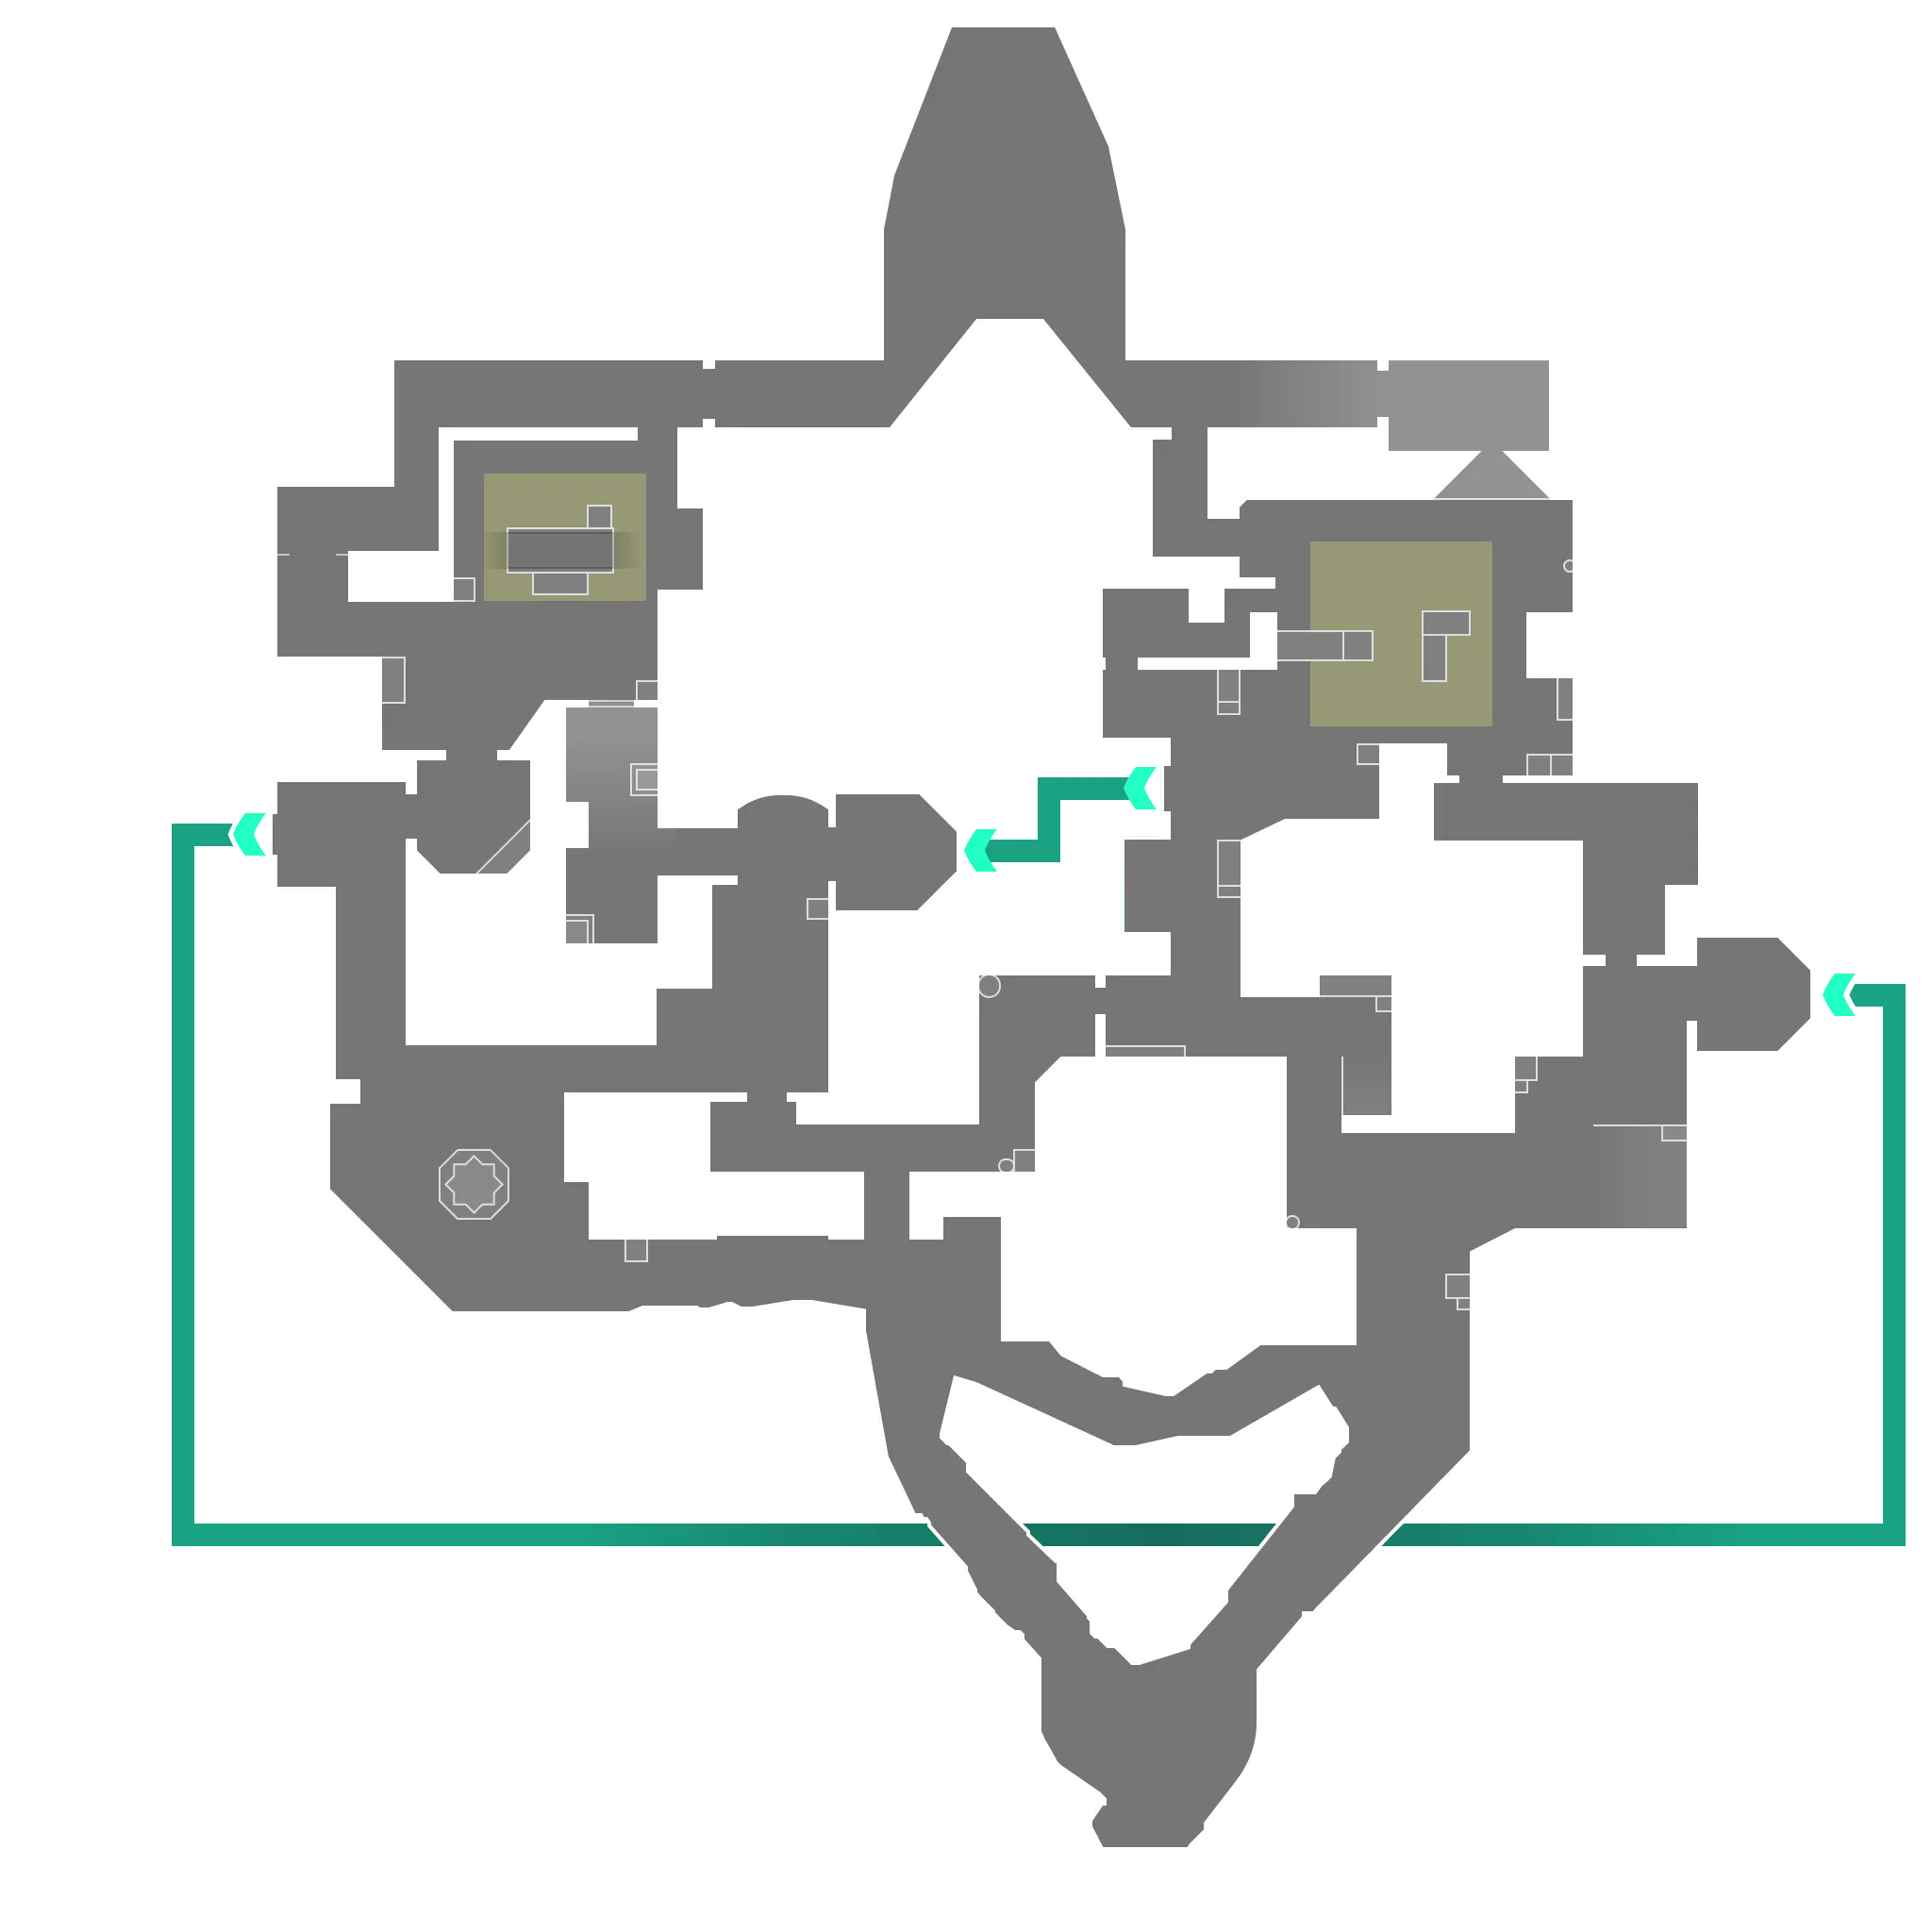
Bind features two Spike sites connected by two main routes, one leading to A-Site and the other to B-Site. Unlike maps with a traditional Mid area, teams must commit to a route or use the one-way teleporters to reposition quickly.
This layout makes site control more direct, while placing greater emphasis on smart rotations, map awareness, and flanking opportunities.
Bind Minimap Layout
Bind has two one-way teleporters that allow players to move quickly across the map. One connects A-Short to B-Short, while the other links B-Long to A-Lobby. They can help teams rotate faster or catch opponents off guard, but using a teleporter makes a sound that can reveal their position to the enemy.
Key Areas in Bind
- A Site: Attackers can enter through A-Short or A-Bath, also known as Showers. Defenders can hold A-Lamps, commonly called U-Haul, or A Tower, also known as Heaven, to cover different angles and contest the site
- B Site: The two main entrances are B-Short, which leads through Hookah, and B-Long, which connects to Garden. B-Elbow and the elevated positions around the site are important areas for defenders to hold
- Teleporters: The two teleporters offer alternative routes between different areas of the map. Teams can use them to fake a push, flank opponents, or rotate quickly, but the sound cue can reveal their movements to the enemy
Important Callouts on VALORANT Bind
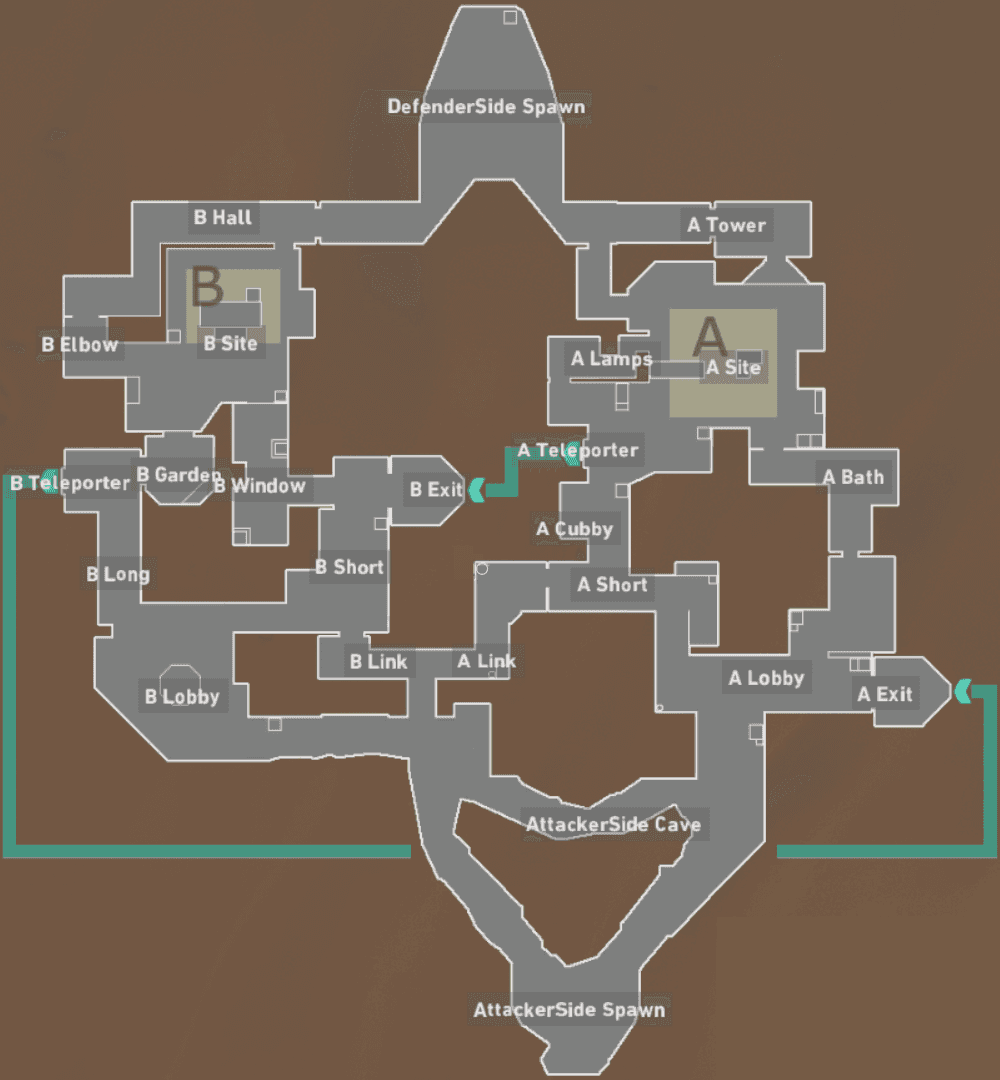
Knowing Bind’s main callouts helps players communicate enemy positions, coordinate site executes, and react to rotations. Some areas also have common community names that differ from their official labels on the map.
A-Site:
- A-Short
- A-Bath (Showers)
- A-Cubby
- A-Lamps (U-Haul)
- A-Tower (Heaven)
- A-Teleporter
- A-Exit
B Site
- B-Long
- B-Garden
- B-Window (Hookah)
- B-Elbow
- B-Hall
- B-Teleporter
- B-Exit (TP)
Learning these callouts helps players communicate more clearly with their team. On Bind, it is also important to pay attention to teleporter sounds, as they can reveal a possible flank or a change in the enemy team's plans.
Best Agents for VALORANT Bind
Bind’s compact layout, narrow entrances, and limited rotation routes make utility an important part of every round. Agents who can clear corners, block enemy vision, and control chokepoints are strong choices for this map.
Duelists
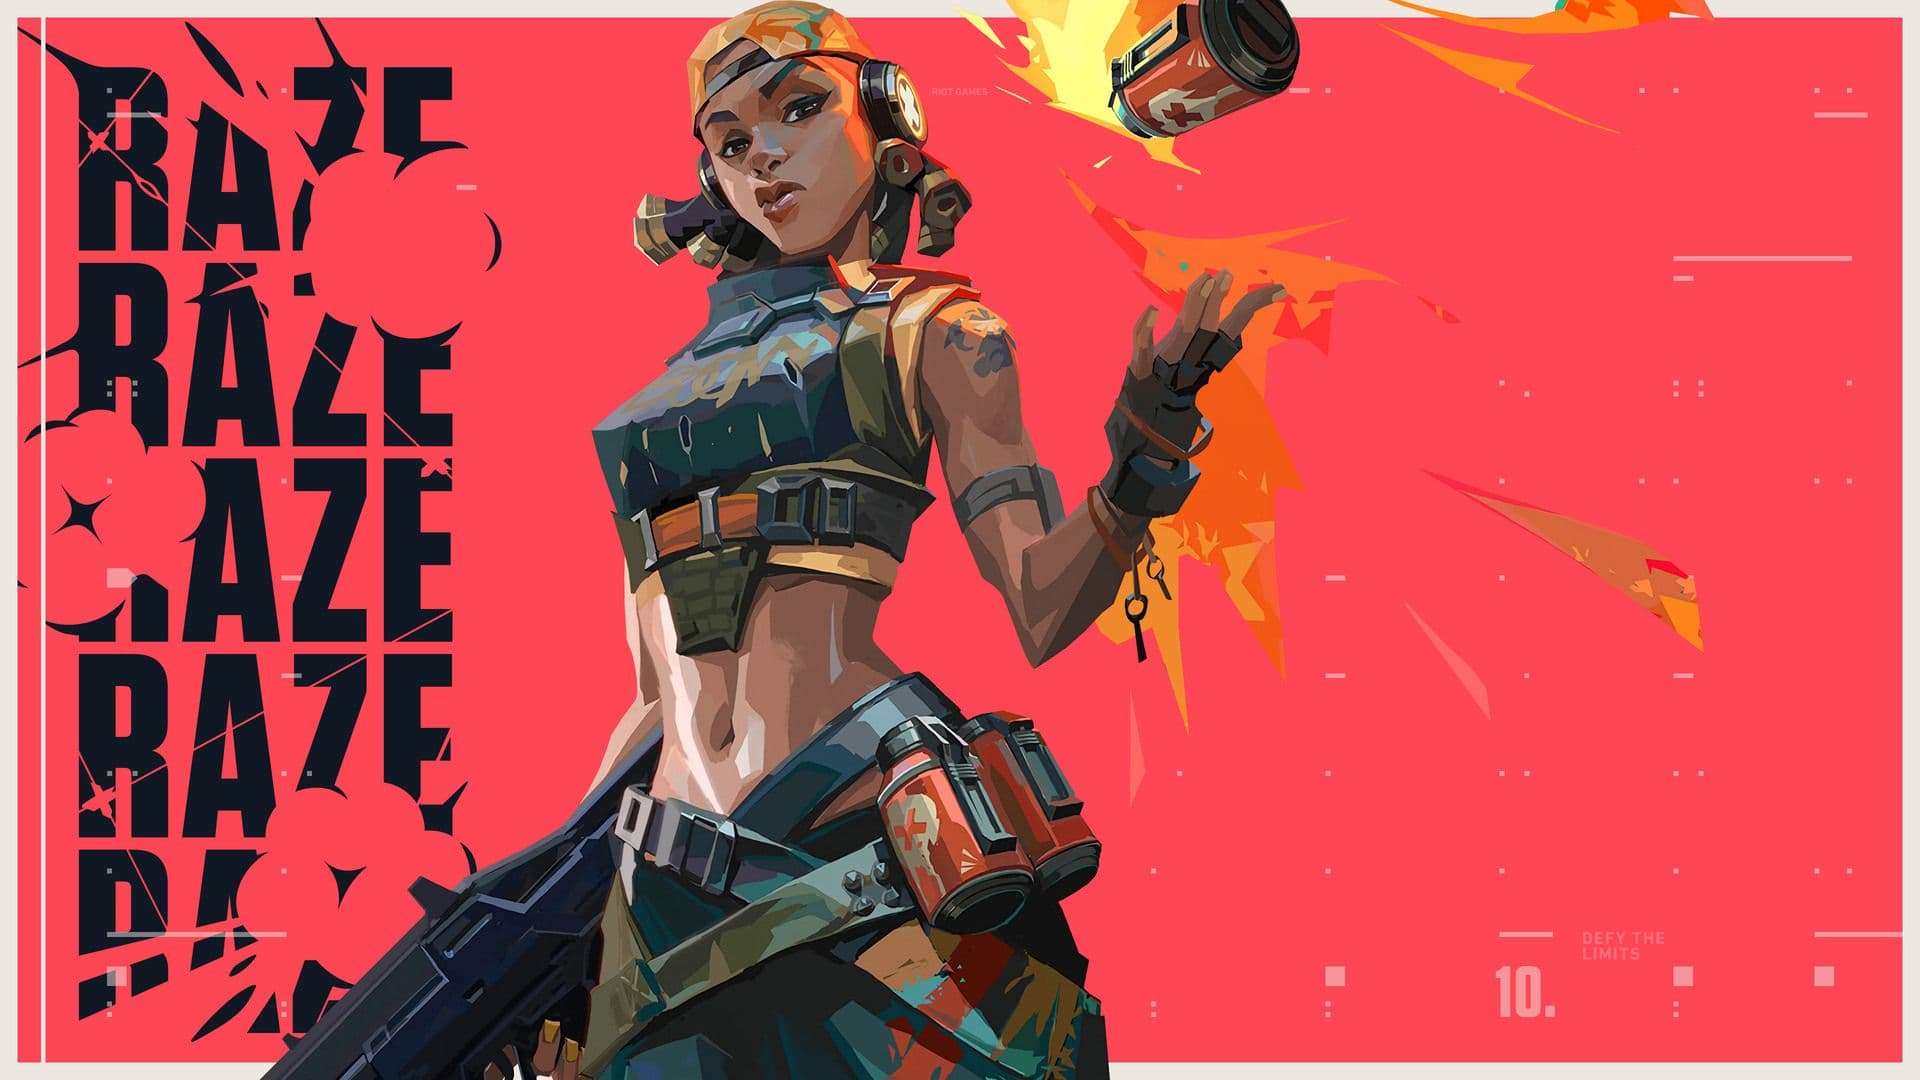
- Raze: Her [C] Boom Bot and [E] Paint Shells are useful for clearing narrow corridors and forcing defenders out of common hiding spots. [Q] Blast Packs also allow her to enter sites quickly, making her a strong pick for aggressive executes.
- Jett: Her mobility allows her to take space quickly and challenge defenders holding long angles. [E] Tailwind also helps her escape dangerous positions after entering a site.
Initiators
- Skye: Her [Q] Trailblazer can clear corners around Hookah, Showers, and other narrow entrances. Her flashes also help teammates push into contested areas and take control of the site.
- Fade: Her [E] Haunt and [C] Prowlers help gather information and clear common defensive positions before a push. Her utility is especially useful when attackers need to take control of Bind’s narrow entrances.
Controllers
- Brimstone: His [E] Sky Smokes can block important sightlines during site executes, while his [Q] Incendiary can delay enemy pushes or deny a plant. [X] Orbital Strike is also useful for pressuring defenders hiding in enclosed areas or for playing a post-plant situation.
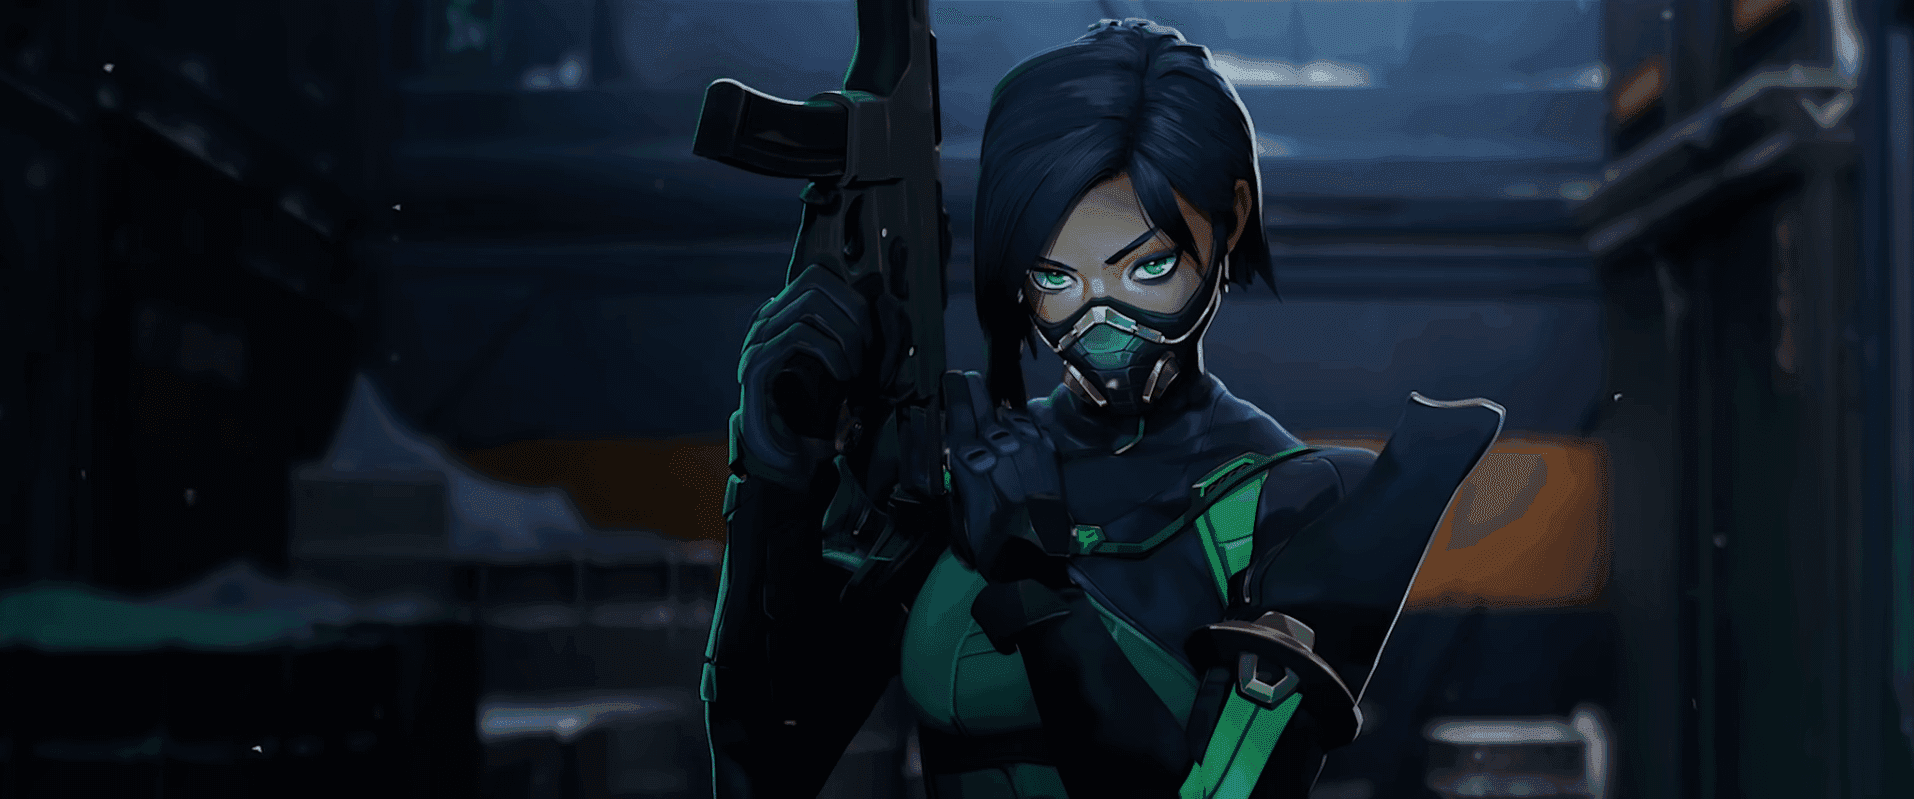
- Viper: Her [E] Toxic Screen and [Q] Poison Cloud can block sightlines and make it harder for defenders to contest an entry. Her utility is also useful for controlling space after the Spike is planted and making retakes more difficult.
Sentinels
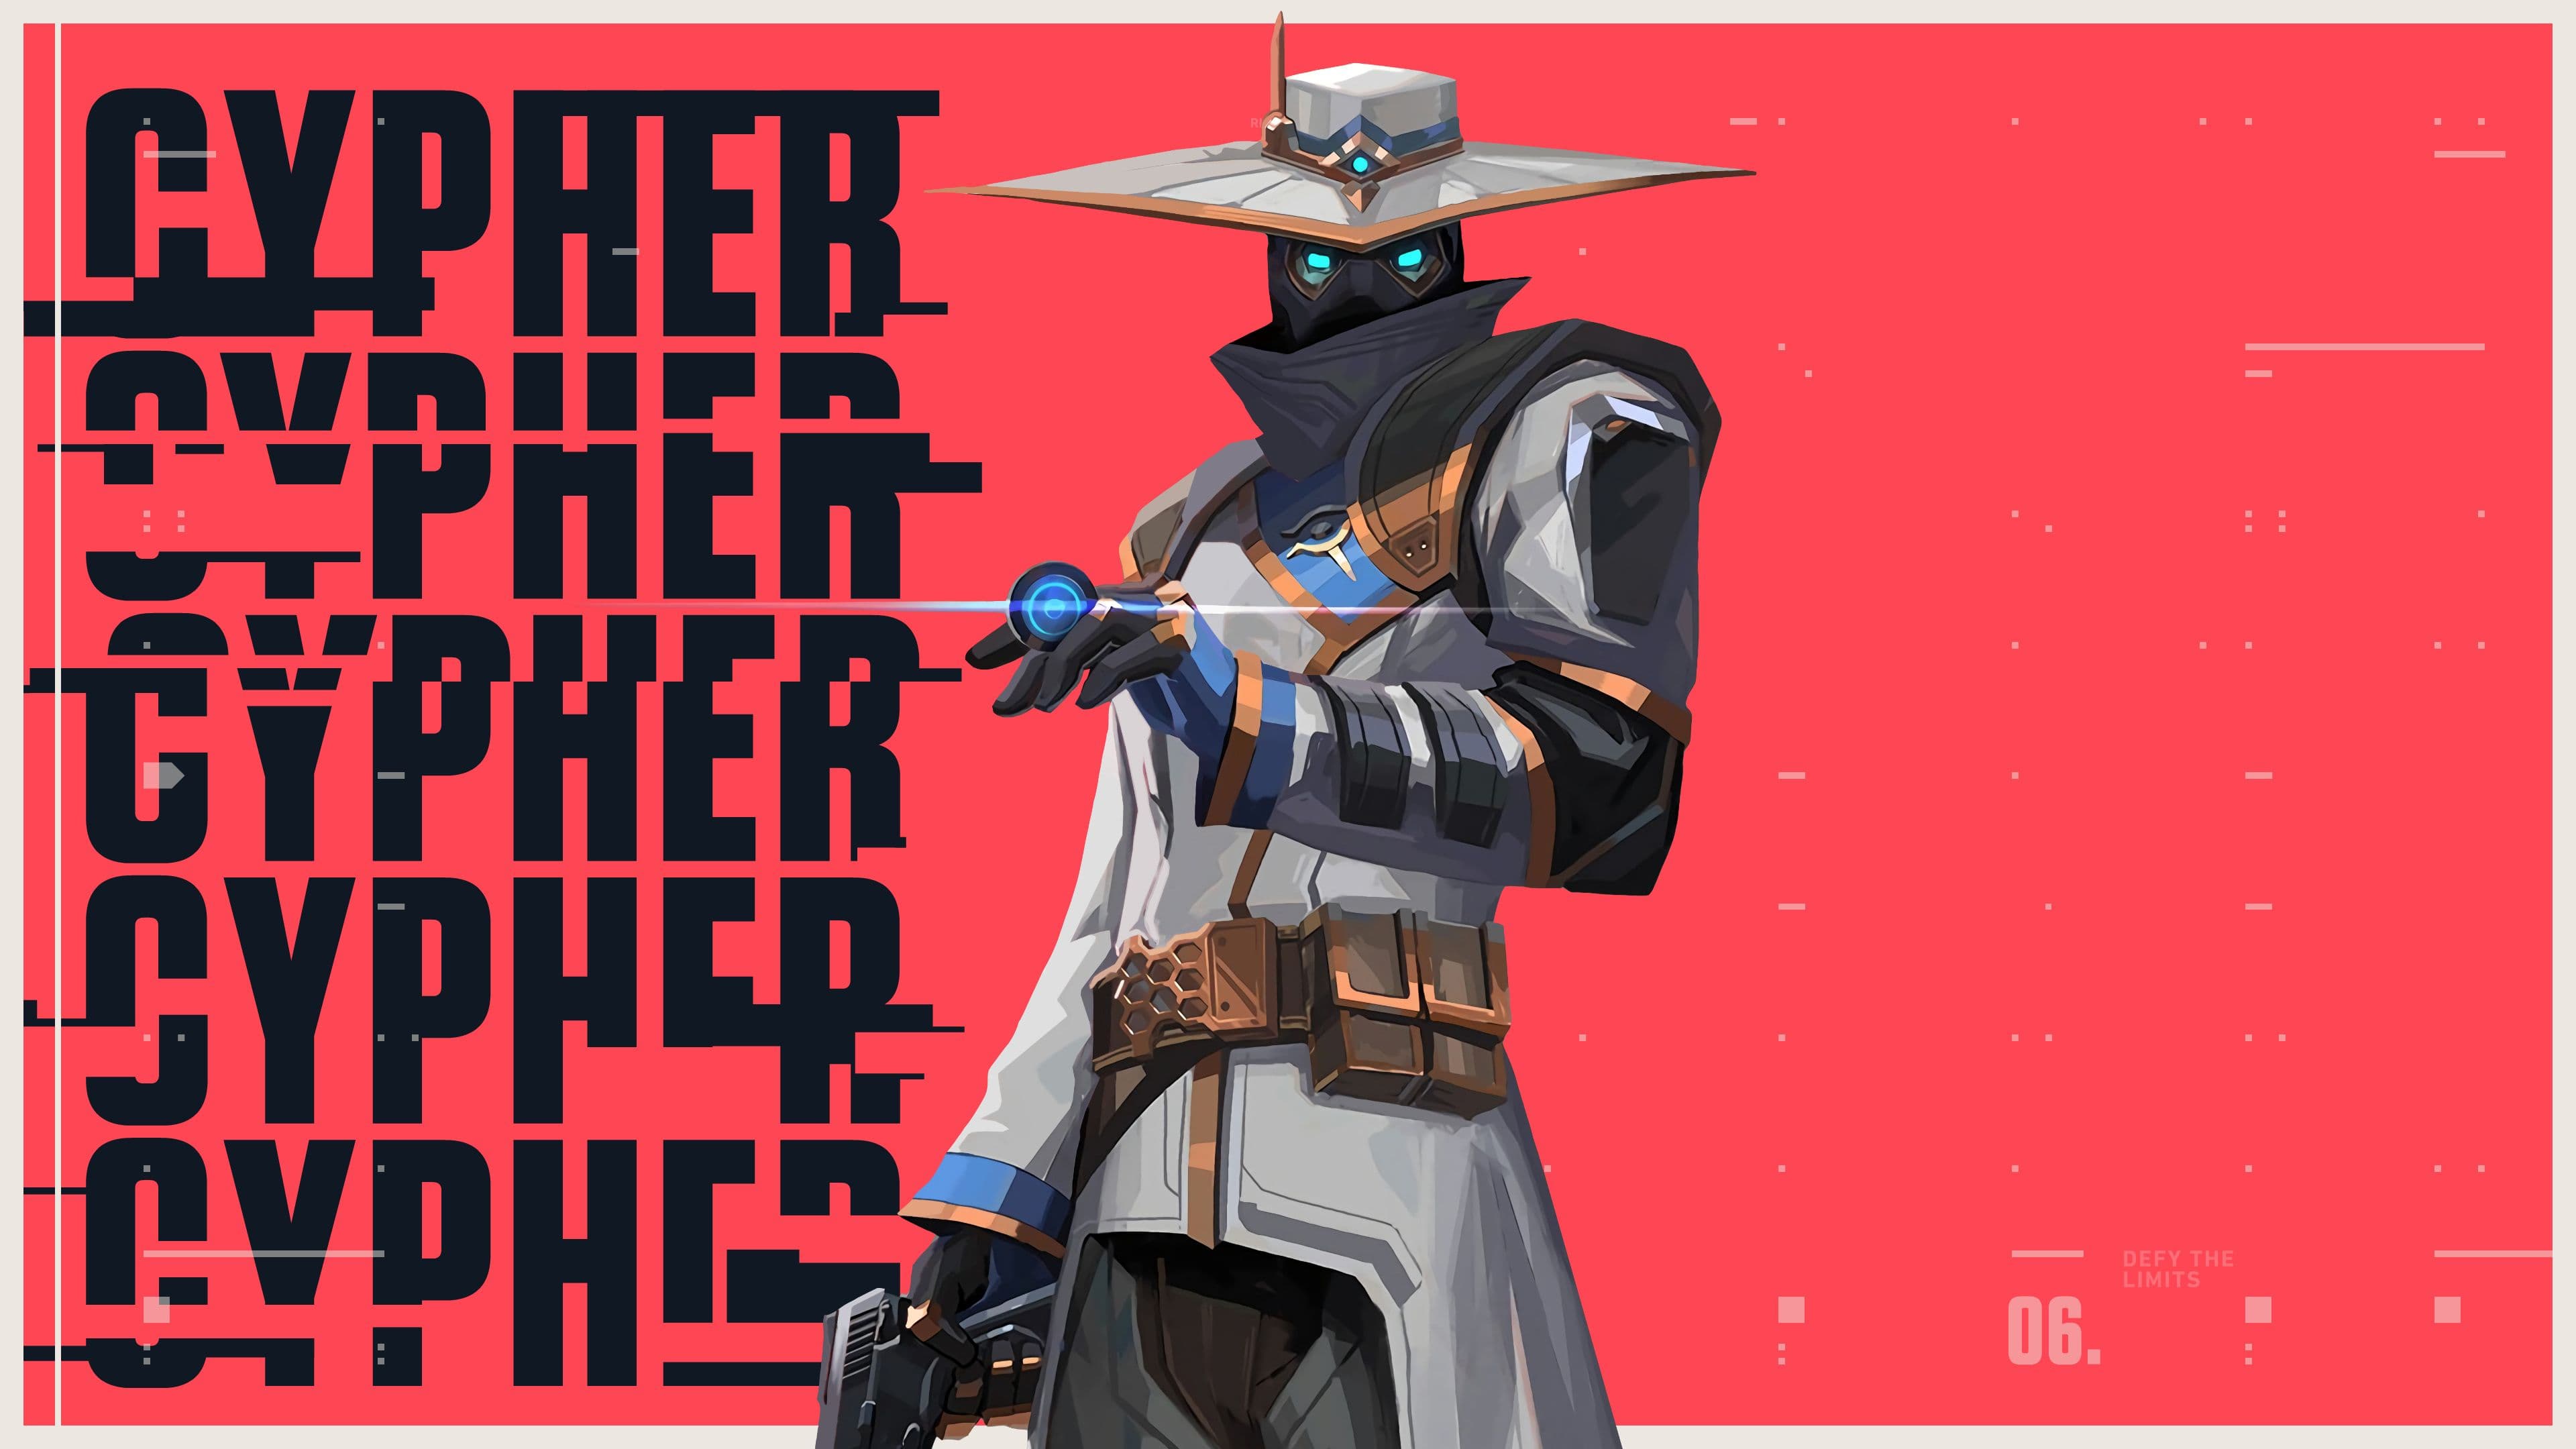
- Cypher: His [C] Trapwires and [E] Spycam provide valuable information on a map where flanks and unexpected rotations are common. His setups allow teams to monitor multiple entrances and keep track of enemy movements without needing a player to watch every angle.
- Sage: Her [C] Barrier Orb can block narrow entrances and slow down aggressive pushes, while her [Q] Slow Orbs make it harder for opponents to move through chokepoints. She can also help secure a plant or delay enemy retakes.
These agents offer different ways to control Bind’s narrow spaces and multiple routes. The best composition depends on your team’s playstyle, but gathering information, blocking sightlines, and clearing corners are particularly important on this map.
Strategies and Tactics for VALORANT Bind
Winning on Bind takes more than just winning aim duels. Teams need to control narrow entrances, gather information on enemy positions, and use the teleporters carefully without revealing too much to the opposing team.
Controlling the Teleporters
The teleporters are an important part of Bind's strategy. Their sound cues can reveal a team's movements, but they can also force defenders to adjust their positioning.
Attackers can use them to create pressure on the other side of the map or fake a rotation. Defenders should listen for the activation sound and communicate which teleporter was used before deciding whether to rotate or hold their positions.
Since each teleporter only works in one direction, players also need to consider where they will end up and which routes remain available afterward.
A Site Tactics
- Attack strategy: A-Site has two main entrances: A-Short and Showers. Teams can pressure both approaches to force Defenders to split their attention. Use flashes and scouting utility to clear corners before entering, and smoke A-Tower and other dangerous sightlines when pushing onto the site.
- Defense strategy: Defenders should avoid giving Attackers free control of both entrances. Holding A-Lamps or A-Tower provides useful angles, while utility can slow pushes through A-Short or Showers. If attackers take the site, focus on staying alive and coordinating a retake instead of taking isolated fights.
B Site Tactics
- Attack strategy: B-Site has two main approaches through B-Short and B-Long. Hookah provides an elevated entry, while B-Garden offers another route to the site. Coordinating pushes through both entrances can stretch the defense, but Attackers should clear common positions around B-Elbow and the back of the site before planting.
- Defense strategy: Defenders need to watch for pushes through both Hookah and Garden. Utility can slow attackers down and force them to use their resources before entering. Avoid focusing too heavily on one entrance without information about the other, and keep a route open to coordinate a retake if attackers take the site.
Bind Gameplay

Attacking Strategies
When attacking, avoid committing to a site before understanding the defensive setup. Apply pressure through A-Short, Showers, Hookah, or B-Long to gather information and force defenders to reveal their positions.
A coordinated B-Site execute, for example, can start with an Initiator clearing Hookah while a Controller smokes off key defensive angles. Teammates can then push through B-Garden to pressure the site from another direction.
Once the site is secured, establish post-plant positions and watch for flanks instead of taking unnecessary fights.
Teams can also use early pressure to fake a site execute. If Defenders rotate toward one site, Attackers can reposition and push the other. Good communication is essential to coordinate the rotation and avoid leaving teammates isolated.
Defending Strategies
On defense, information and utility management are key. Assign players to watch the main entrances, but avoid spreading the team too thin to defend against a coordinated push.
Use smokes, traps, flashes, and damage-dealing abilities to delay attackers at choke points. If the enemy commits to a site, communicate how many players have been spotted and rotate accordingly.
Teleporter sounds can provide useful information, but defenders should consider the possibility of a fake before abandoning their positions.
Retakes also require coordination. Instead of entering the site individually, teammates should combine their utility and clear angles. This is especially important on Bind, where attackers can use the many corners around each site to defend a planted Spike.
Practice and Adaptation
Learning Bind takes practice, especially when it comes to remembering callouts and understanding how the teleporters affect rotations. Review your matches to identify where you lose control of important areas, waste utility, or rotate too early.
Try different agents and defensive setups to find what works best for your team. Even small improvements in communication and utility usage can make a difference when taking control of Bind's narrow entrances.
Conclusion
Mastering Bind in VALORANT requires understanding its layout, learning the key callouts, and making good use of the teleporters. Choosing the right agents, coordinating site executes, and communicating enemy positions can help teams control the map and avoid common mistakes.
Whether pushing through Showers, fighting for Hookah, or using a teleporter to catch opponents off guard, good communication and effective utility usage are essential to winning on Bind.
Check out Strafe Esports for all the latest VALORANT news and our X account for the latest content and coverage. Also, stay tuned to Strafe YouTube for exclusive interviews, press conferences, and more.
Featured Image Credit: Riot Games