
 en
en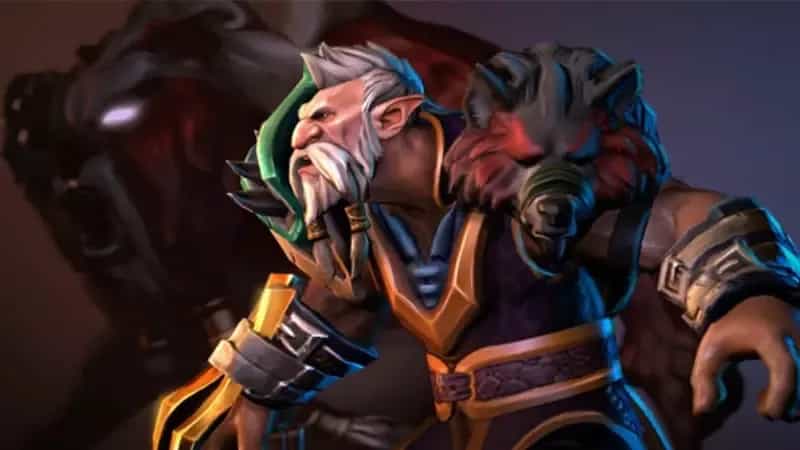
Lone Druid Dota 2 Guide: Best Build, Abilities, Talents, Strategies, and Lore

17 Aug, 2026, 02:04
|Last updated: 17 Aug, 2026, 02:04
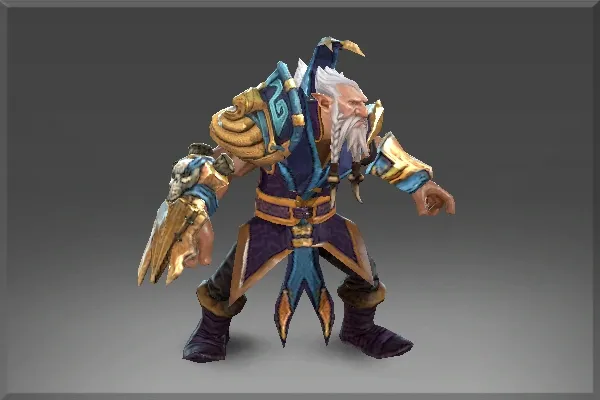
Lone Druid is a versatile Dota 2 hero known for his powerful companion, the Spirit Bear. He can adapt to different roles based on how he allocates farm and items. This guide covers his abilities, strengths, weaknesses, and potential strategies for achieving consistent impact in matches.
Who Is Lone Druid?
Lone Druid, also known as Sylla, was a member of the druidic Bear Clan. The clan justiciar and seer, Sylla was give trust of the Seed. When his ancestral home was burned in pursuit of the Seed's power, Sylla fled into the wild places.
Ages later, and the world has forgotten the Seed, the Bear Clan, and Sylla. For millenia he has waited in exile for peace to come to the realms and he will continue to do so until his trust concludes.
Sylla is often chosen for his unique mechanics. He brings two units to the battlefield: his ranged human form and a melee Spirit Bear that has its own inventory. This pair can dominate lanes, push towers quickly, and outlast enemies.
Many players gravitate to Lone Druid because of his capacity to split his resources. Some items go to the bear, while others stay on Lone Druid. This approach allows for creative tactics that other heroes do not have.
Lone Druid: Abilities Breakdown
Summon Spirit Bear (Innate)
Lone Druid's innate is Summon Spirit Bear, which he begins every game with. This spell creates Lone Druid’s constant companion on the field. The bear can wield items, but it suffers if it strays too far. When the bear dies, Lone Druid loses 20% of his max health. The bear gains health and damage as Lone Druid levels up.
- Spirit Bear is granted a functional and cooldown-independent copy of Lone Druid's neutral item.
- Is able to activate runes without any restrictions.
- Spirit Bear is disarmed if it ventures too far from Lone Druid.
- Has Demolish, Return, Entangling Claws, Savage Roar, and Spirit Link abilities.
- 120 second cooldown that begins when Spirit Bear is slain by either faction.
Entangle
Entangle is Long Druid's primary crowd control ability. When active, Entangle automatically applies 2 stacks to each enemy hero in the area and 5 stacks to enemy creep. Lone Druid is also empowered briefly to apply 1 additional stack with each attack on enemy heroes.
Enemies with 5 stacks of Entangle are rooted and take damage over time. They cannot gain additional stacks while Entangled.
- Spirit Bear's attacks are permanently empowered. Each successful attack applies an Entangle stack on enemy heroes regardless if Lone Druid activates the skill.
- Neither Lone Druid nor Spirit Bear can apply additional stacks to enemy heroes that already have 5 stacks of Entangle.
Spirit Link
Spirit Link is a passive that shares a percentage of Lone Druid's and Spirit Bear's lifesteal with one another. The skill also grants movement speed bonuses to both.
- Lone Druid attacks unit. Spirit Bear heals.
- Spirit Bear attacks unit. Lone Druid heals.
- Spirit Bear gains greater movement speed bonus but requires Savage Roar to be unlocked.
Savage Roar
Lone Druid and the Spirit Bear roar, forcing enemies to flee toward their base. This disrupts enemy positioning and cancels many channeling spells. Enemies get a movement speed bonus, but the fear effect can turn fights in your favor. In the later game, this becomes Lone Druid's primary playmaking ability.
- The ability originates from both Lone Druid and Spirit Bear, but they share the same cooldown.
- Is cast by Lone Druid and Spirit Bear simultaneously, no matter who was given the order.
- If either unit is affected by disable sources, the ability will not cast.
True Form (Ultimate)
Lone Druid morphs into a melee bear himself, gaining bonus armor and health. He loses ranged capabilities but gains strong defensive stats. The transformation takes time and cannot be stopped by normal means.
Aghanim Upgrades
Savage Roar
Improved by purchasing Aghanim's Shard. Savage Roar now applies a basic dispel and grants allies in an area around the caster bonus movement and attack speed. Removes the tied restriction, disabling either Lone Druid or Spirit Bear will no longer prevent the other from casting Savage Roar.
Entangle
Improved by purchasing Aghanim's Scepter. Entangle instantly applies 5 stacks to enemy heroes in the area and has increased radius. Lone Druid and Spirit Bear can now apply additional Entangle stacks past 5.
Core Strengths and Weaknesses
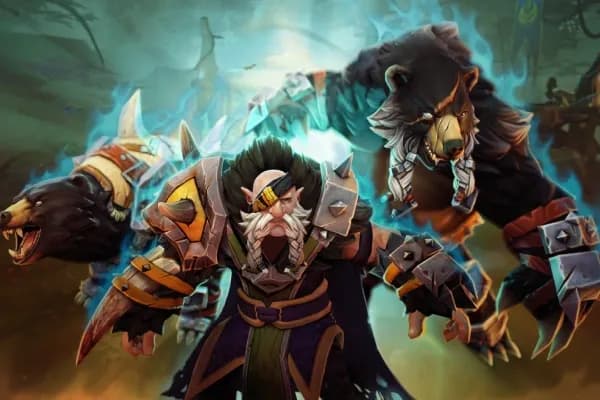
Lone Druid has strong pushing power and can control space on the map. He also offers early aggression possibilities, since his bear can apply constant pressure. However, he requires careful micro management. If the Spirit Bear dies, the enemy team gains a large amount of gold and experience. Losing the bear also weakens Lone Druid’s presence.
Strengths
-
Rapid tower pushing with Spirit Bear’s Demolish
-
Strong lane presence
-
Flexible build paths
-
Good survivability in True Form
Weaknesses
-
Large gold bounty from a dead bear
-
High micro management demands
-
Limited effectiveness without the Spirit Bear
-
Weaker ranged form if caught out of position
Detailed Playstyle
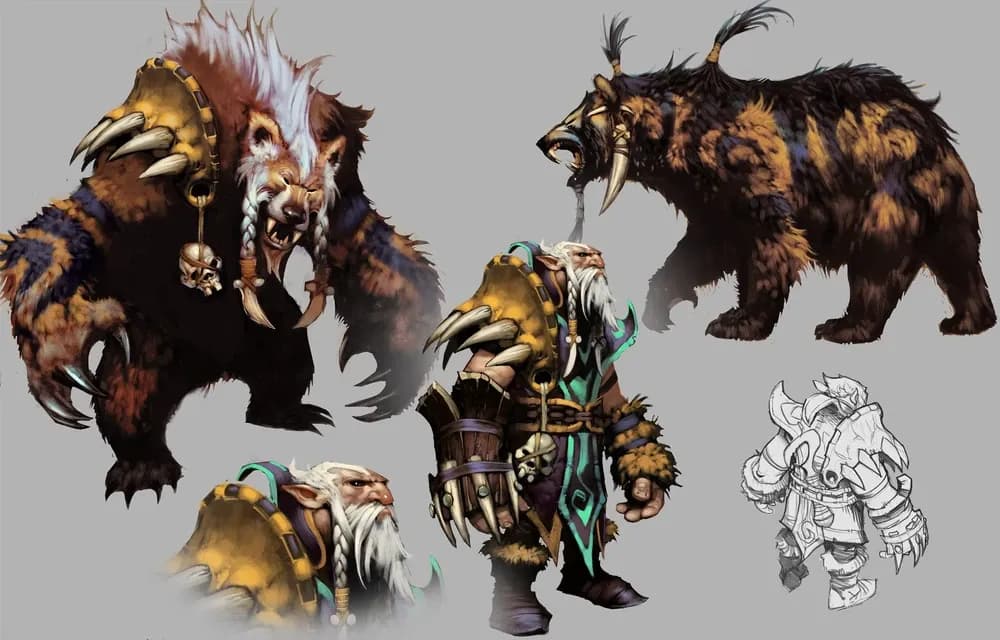
Early Game Approach
Many players rush Phase Boots on the bear and use it to harass. An Orb of Corrosion can also enhance early kills or heavy harass. Aim to secure farm on both the hero and the bear to build a lead.
-
Use the bear to block creeps or drag them to safer lanes.
-
When under threat, return the bear to base with a Town Portal Scroll, then cast Summon Spirit Bear or wait for Return.
-
Position Lone Druid carefully so you do not lose both the hero and the bear during dives.
Mid Game Strategy (H2)
Once the Spirit Bear has an item or two, look for opportunities to push towers. Demolish adds bonus damage against structures, making tower sieges quick. If the enemy commits resources to defend one lane, move the bear to another lane to pressure objectives.
-
Use Savage Roar to disrupt defending enemies.
-
Maintain vision by sending the bear ahead for scouting.
-
Focus on building synergy with items. For instance, if the bear has Mask of Madness, combine it with Spirit Link for major damage output.
Late Game Tactics (H2)
By this stage, Lone Druid often transitions into True Form during team fights to remain durable. The bear may have items such as Assault Cuirass or Abyssal Blade. With these, the bear can lock down targets and shred structures.
-
Keep track of the bear’s health. Resummon if it is low on health outside of fights.
-
If the bear dies, reposition or retreat until you can safely bring it back.
-
Coordinate team fights by opening with Savage Roar to scatter enemies, then focus high-value targets.
Item Recommendations
Core Items on Lone Druid
-
Tranquil Boots: Helps you stay mobile and healthy without spending too much gold.
-
Black King Bar: Counters spells that could disable you when you commit to fights.
Core Items on Spirit Bear
-
Phase Boots: More movement speed to close in on targets and land roots.
-
Mask of Madness: Rapid attack speed boosts damage output. It also helps generate lifesteal through Spirit Link.
-
Aghanim’s Scepter: Enables the bear to attack at any distance from Lone Druid and remain alive if Lone Druid dies.
Situational Items for Lone Druid
-
Aghanim’s Shard: Grants a basic dispel from Savage Roar and buffs nearby allies.
-
Crimson Guard: Adds survivability for your team and your bear.
-
Butterfly: Provides damage and evasion if you decide to become a right-click threat in True Form.
Situational Items for Spirit Bear
-
Radiance: Ideal for spread damage and split pushing.
-
Mjollnir: Amplifies pushing power and deals with illusions or creep waves.
-
Abyssal Blade: Offers a guaranteed stun to complement Entangling Claws.
-
Monkey King Bar: Counters high evasion targets and adds a useful damage proc.
Lone Druid: Game Plan
Micro Management Tips
Control groups are essential when playing Lone Druid. Many players use separate hotkeys for Lone Druid, the bear, and both together.
-
Assign Lone Druid to one control group and the bear to another.
-
Practice “attack and move” commands on the bear to chase enemies efficiently.
-
Always watch your cooldown on Summon Spirit Bear to avoid a situation where the bear is needed but unavailable.
Using Savage Roar Offensively and Defensively

Savage Roar can act as a powerful deterrent. It can also buy time for the bear to reposition or root fleeing enemies. When chasing, send the bear close to the target, then roar to force them to run away from you, which might keep them in range of an ally’s stun.
Pushing Structures
The bear’s Demolish ability destroys buildings fast. Capitalize on enemy distractions: if they are busy fighting elsewhere, send the bear to chip away at a tower. Keep Lone Druid safe in the lane or neutral jungle, so you can recall the bear if danger approaches.
Transitioning to Late Game
Try to have at least one or two disabling items on the bear to handle enemy cores. Aggressive item choices like Desolator or Assault Cuirass ensure that towers fall quickly. If you choose to become the main source of damage in True Form, keep an eye on your position because you no longer have ranged attacks.
Strong Takeaway
Lone Druid is unique because he combines two separate units that benefit from distinct item paths. His success relies on balancing aggression with caution and on leveraging Spirit Bear’s strengths. Steady practice with micro control helps you adapt to shifting conditions in each match.
Stay aware of team composition and enemy threats. The right choices let you outmaneuver your foes while securing objectives. Using both hero and bear effectively results in swift tower pushes and confident team fights. This hero rewards careful planning and precise timing.
Follow Strafe Esports for the latest Dota 2 news, and our X account for the latest content and coverage. Also, stay tuned to Strafe's YouTube channel for exclusive interviews, press conferences, and more.
Featured Image Credit: Dota 2 Fandom