Counter-Strike Airstrip Map Guide: Callouts and Winning Tactics
Airstrip is a classic Counter-Strike defusal map set on a remote Colombian runway. Its design mixes open ground, tight tunnels, and steep vertical angles. This guide explains the map’s history, main areas, and the straightforward tactics that win rounds.
Map Overview and Objectives
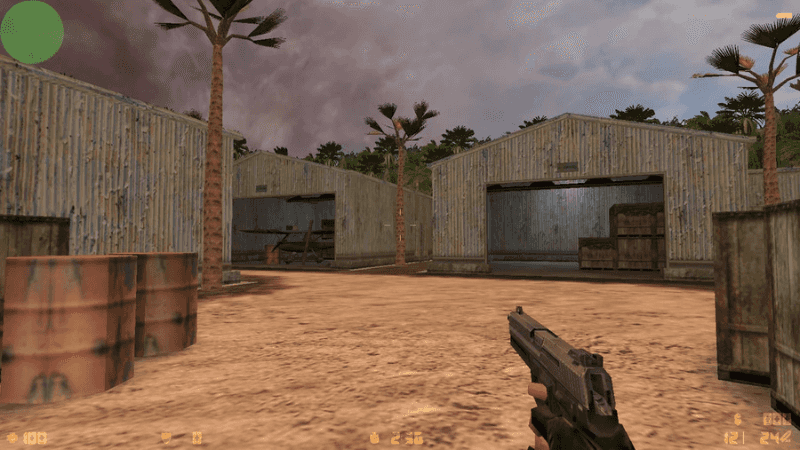
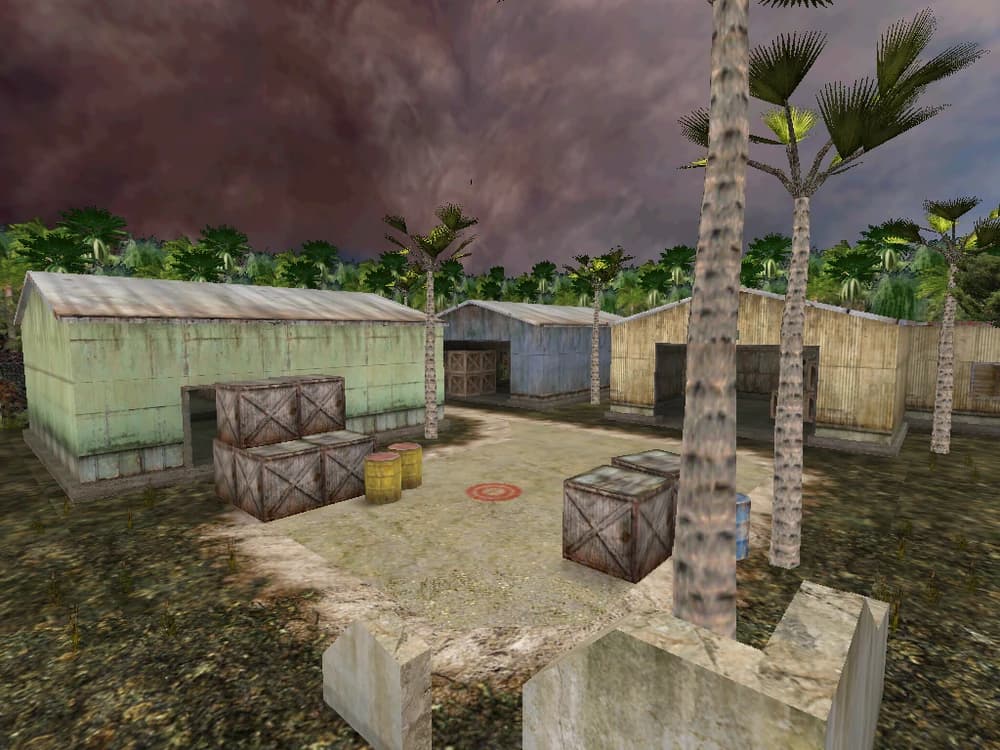
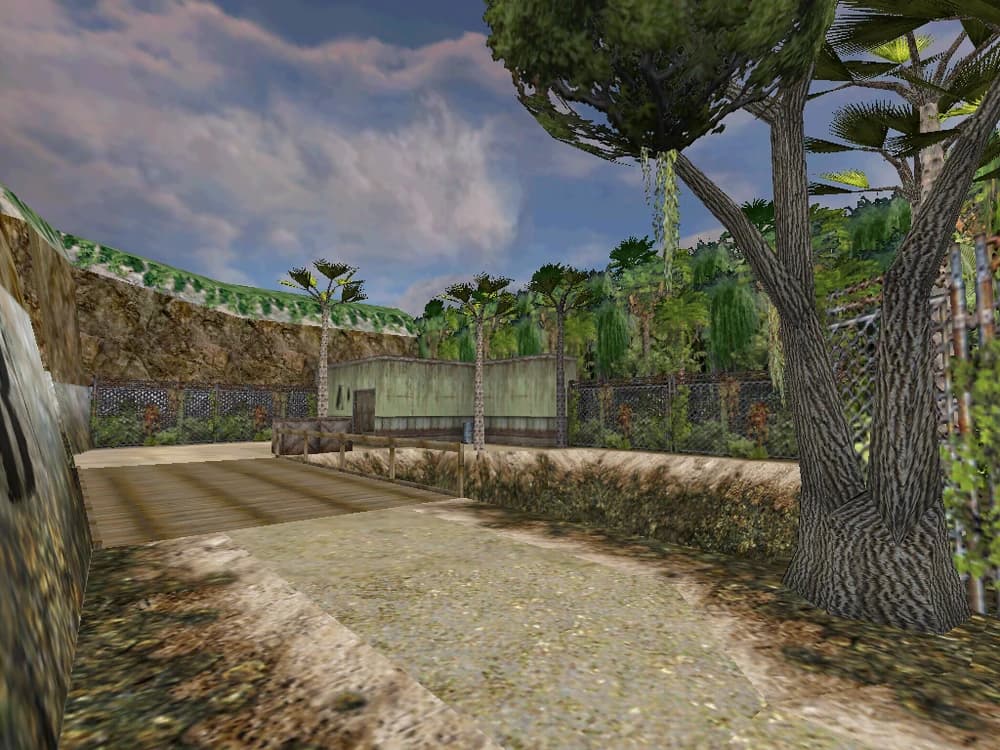
Airstrip uses the bomb-defusal format, marked by the “de_” prefix. The setting is a jungle airstrip with fuel tanks, warehouses, and a concrete bridge spanning a small gorge. Two bombsites sit on the grounds: Site A rests inside a warehouse close to the Terrorist spawn, while Site B lies near the fuel depot beside the Counter-Terrorist spawn. The defending side must prevent a plant or defuse the device, and the attacking side must plant C4 and protect it until it detonates. Because the Terrorists spawn near Site A, they can pressure that warehouse seconds after the round starts.
Development and History

Christopher “Barney /narby” Auty created Airstrip after an online chat with John “rizzuh” Jensen, who suggested a jungle map. Auty drew visual mood from the film Clear and Present Danger and received texture help from Iikka “Fingers” Keränen, while Valve supplied the models. Auty spent more time on visuals than on his earlier maps, aiming for richer detail. Steam updates later refined the experience. A January 2003 patch added a new route from CT spawn, and February fixed a silent-plant bug at Site A and placed a sign crate at Site B. In July the bot paths improved, and an October update cleaned up description typos. Far below Site A sits a hidden credit room that thanks the contributors.
Versions and Major Changes
The Xbox port of Counter-Strike carried the map into high resolution and added rain, yet it used an older layout that lacked the back passage behind the CT spawn. Condition Zero kept most Xbox visuals, removed the rain effect, and retained the closed passage. Extra ambient sounds gave depth, and Airstrip became mission 15 in the Tour of Duty campaign. Key patch notes mark January 16 2003 as the public debut alongside Counter-Strike 1.6, with later tweaks focused on navigation and bug fixes.
Layout and Key Areas
Bombsite A
Site A rests inside a warehouse filled with crates and thin walls. Because the Terrorists spawn fewer meters away, they often rush to plant before CTs settle. Once the C4 ticks, attackers hold the two narrow doors with crossfires. Defenders need smokes or flashes to break through, and rifles can wall-penetrate certain crate stacks, forcing terrorists to shift positions.
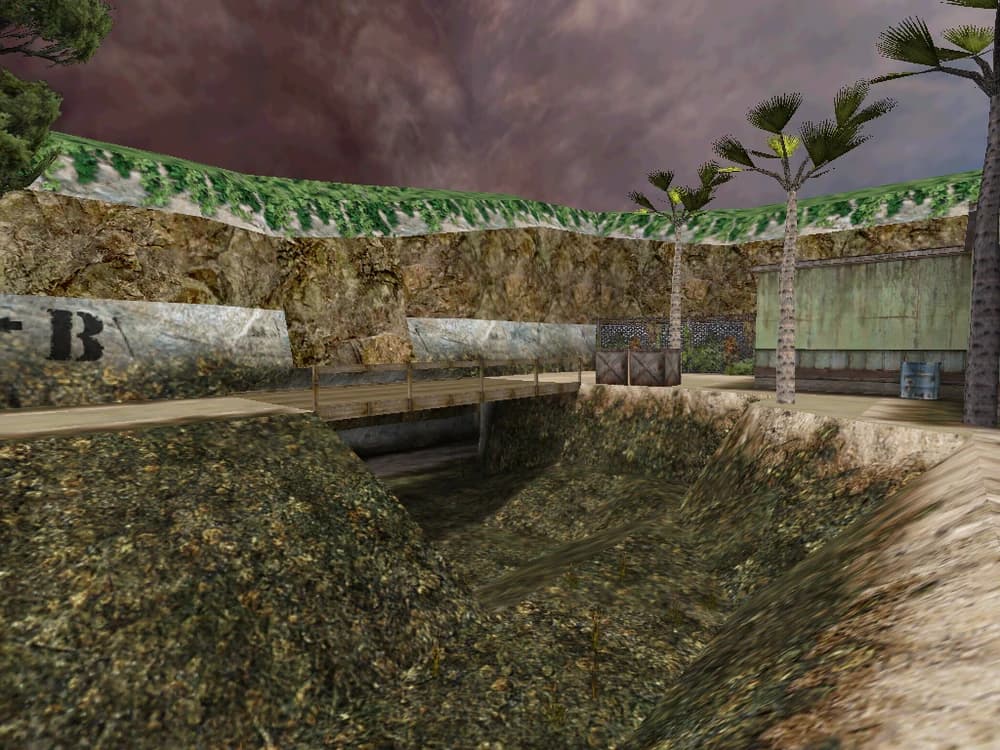
Bombsite B and CT Spawn Zone
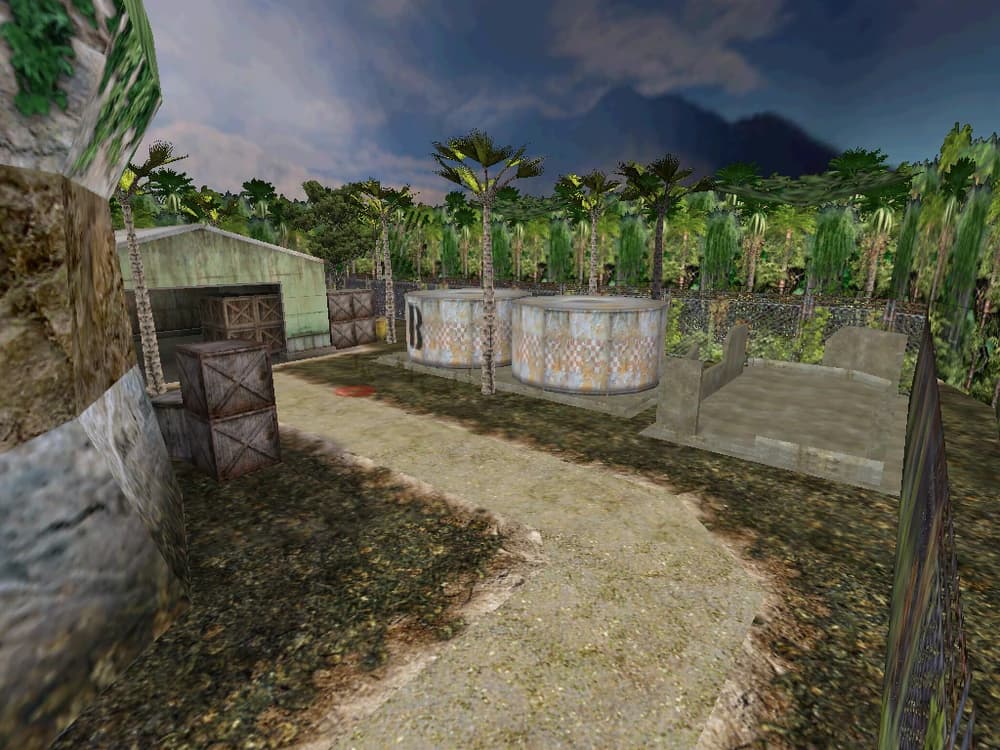
Site B merges with the CT spawn yard. Three routes feed this space: the bridge upper level, the sewer exit, and, in the original 1.6 build, the long hall. Wide sightlines favor M4 or AWP control, so attackers rely on smoke walls to cross the open ground. Many hiding points around fuel tanks let defenders spring traps during retakes. Clearing every corner before a defuse is essential.
Bridge and Underpass
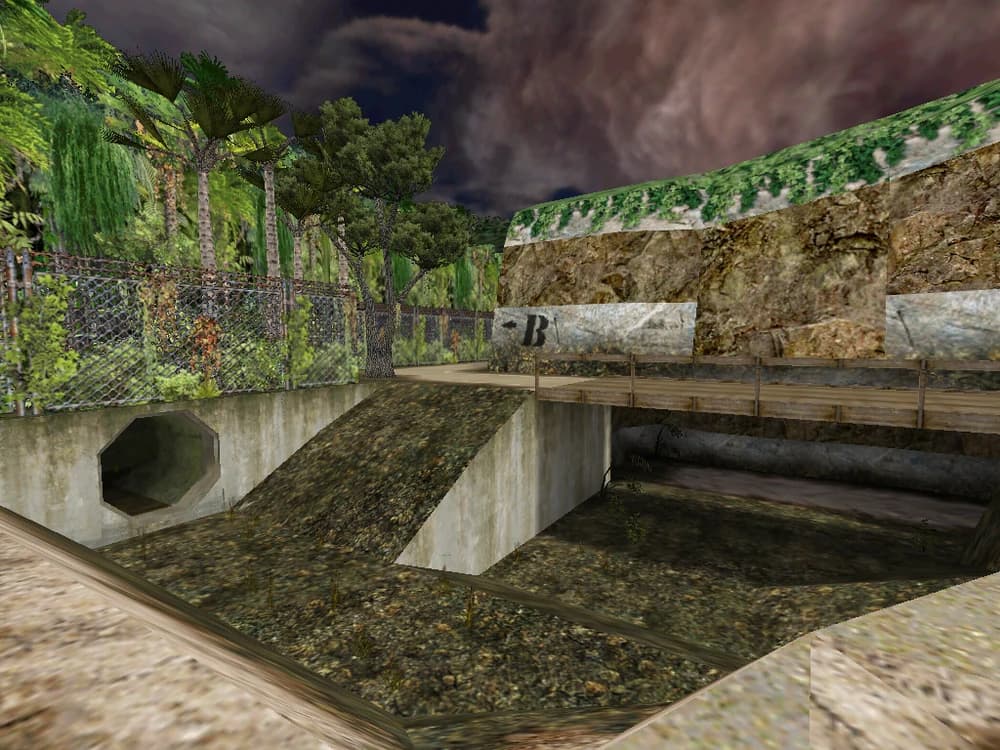
The concrete bridge spans the map center. CTs reach the upper deck first and gain long-range sight across both bombsite approaches. Terrorists tend to slip through the underpass below, shielded from rooftop snipers. A single well-timed smoke can blind the upper deck and open flanking lanes. Grenade battles here decide early momentum.
Sewers
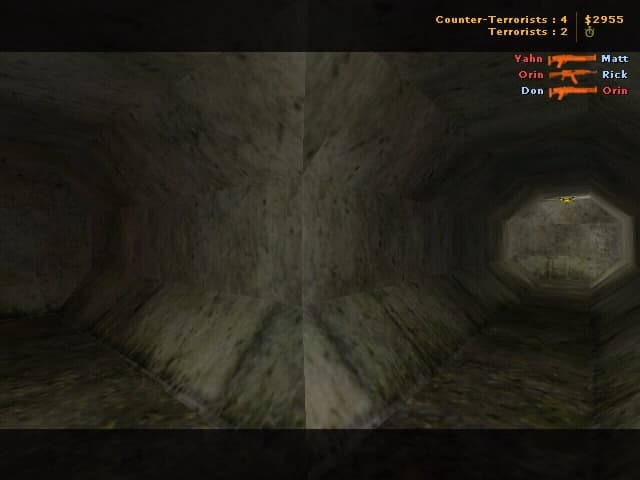
The sewers run beneath the yard and connect to Site B. Their darkness discourages AWP angles, making them a shotgun and SMG arena. Flashbangs win most fights because opponents have little space to dodge. A silent walk through the sewers can set up a surprise backstab, yet retreat is risky once enemies flood both exits.
Tunnel, Side, and Back Way
These cramped paths funnel Terrorists toward the bridge under-level or the flank on Site A. Players rarely fight here unless a team becomes trapped. High-explosive grenades punish grouped enemies, and smart footwork avoids flashbulb stuns.
Long Hall (1.6 Only)
This hall cuts between CT spawn and the bridge underpass. Its narrow width forces close-quarters weapons, and campers often lurk at each exit. A flash followed by a quick burst helps clear the space, but moving too slowly lets enemies push from behind.
Strategies and Tactics
Terrorist Game Plan
A balanced default places three attackers on a rapid sprint into Site A while two lurkers probe the bridge or sewers for free picks. Another option is the bridge burst, where smoke blankets the top deck, followed by a flash that explodes in the underpass, allowing a flood of rifles to overrun CT anchors. Slow lurks also work: wait near spawn for aggressive CT peeks, then creep through tunnels and sewers once the defense reveals itself. The main aim is an early plant at Site A, then a disciplined hold that denies CT retakes with minimal exposure.
Counter-Terrorist Setup
Two rifles can sprint to the bridge upper deck and deny map control from the first second. One anchor stays near Site B, playing an off-angle for information rather than immediate kills. If the bomb goes down at Site A, defenders can swing through sewers or the long hall to pinch attackers from unseen angles. Smokes saved for the final defuse often decide the round, especially when the device lies in the open yard.
Utility Use and Wallbang Spots
Pre-firing the wooden crates on the bridge often nicks early crossers. An M4A4 round through the warehouse wall at Site A can interrupt a plant. Sewers exits reward ceiling-bounced flashes that pop instantly above enemy heads. A well-placed molotov at the fuel-tank corner of Site B blocks the default plant and forces attackers wide.
Tips for Competitive Play
- Keep rounds short; long rotates give Ts more time to lurk.
- Use sound cues—rain removed in newer versions, footsteps echo louder.
- Watch minimap: Site A rush often shows three Ts on radar within ten seconds.
- Re-smoke bridge upper at 40 seconds to stall late pushes.
- Practice silent drops from bridge to underpass to surprise CT anchors.
Easter Eggs and Trivia
- Developer credit room sits far below Site A—visible only in spectator free-look.
- A full runway borders CT spawn but is unreachable without noclip.
- Long Hall’s removal in CZ shifted win rates toward CTs by limiting fast flanks.
Practice Drills on Airstrip
A simple bridge-aim routine involves ten minutes of AK head-shot flicks against bots crossing the top deck. A sewer retake drill uses a five-versus-two setup where defenders enter from both ends with flashes. Planting at Site A and holding angles for the full timer trains discipline. Clearing Site B with flashes and high explosives breaks habits of peeking every corner without utility.
Closing Thoughts
Airstrip rewards a mix of swift aggression and patient flank awareness. Control the bridge early, use flashes in tight tunnels, and keep a smoke for the final defuse. Master these basics and the dense jungle runway soon becomes the staging ground for consistent wins in Counter-Strike.
Don't forget to check out Strafe Esports for all the latest news and our X account for the latest content and coverage.
Image Source: Counter-Strike Fandom