Complete Counter-Strike Cobblestone Map Guide
Aidan van Vuuren
29 Nov, 2025, 23:46
|Last updated: 29 Nov, 2025, 23:51
The Counter-Strike Cobblestone map has been a core part of the series for years. Its long distances, open spaces, and tall structures create a unique style of play. Many players associate Cobblestone with long-range fights, wide courtyards, high towers, and heavy sniper pressure. This guide explains how the map works, how each area plays, and what players should expect in both classic and modern versions.
Cobblestone is still featured in Defusal Group Sigma in CS:GO. It appears in Casual, Deathmatch, and Wingman, though Wingman uses only the B bombsite. The Counter-Strike Cobblestone map has gone through visual and gameplay updates across its versions, but its core identity remains the same: a large, open, sniper-friendly battleground.
Cobblestone Overview
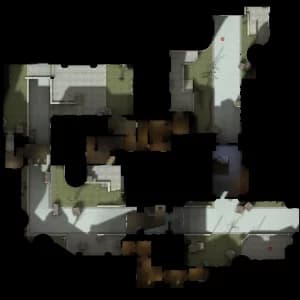
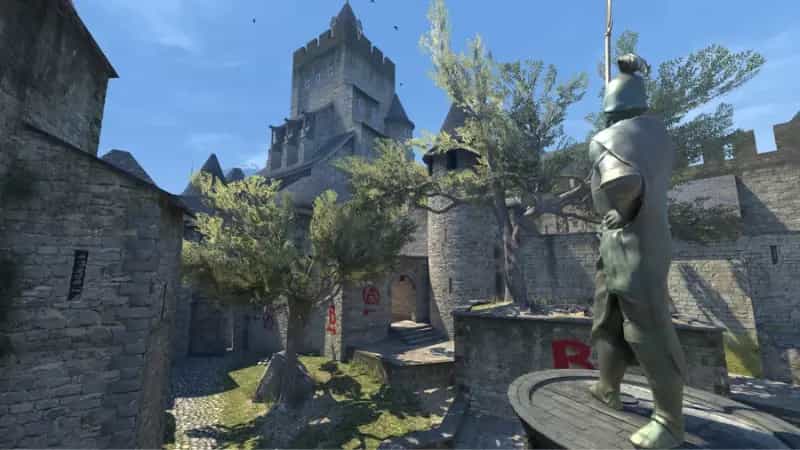
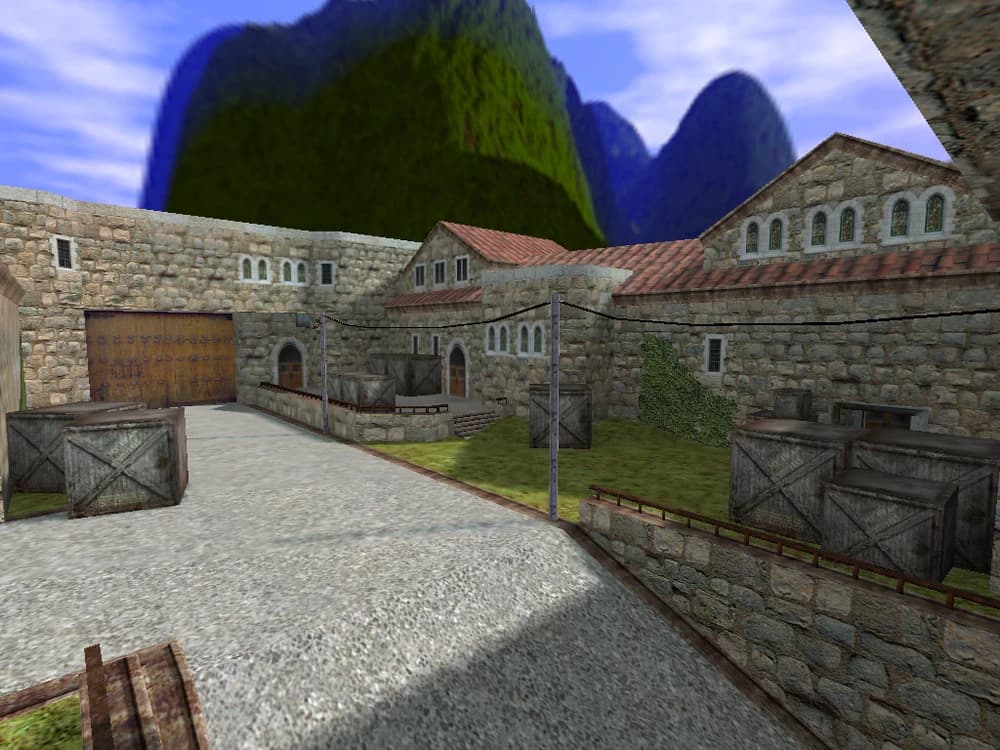
General Layout of Cobblestone
Cobblestone is a large bomb defusal map. Earlier versions had even more vertical movement and higher drops that made fall damage common. Bots also struggled with these cliffs and sometimes fell to their deaths.
The map layout revolves around a few major areas:
-
A wide courtyard connecting to Bombsite A.
-
A tower with multiple sniper windows overlooking open ground.
-
Enclosed back halls leading toward Bombsite B or flanking routes.
-
A CT spawn positioned right beside Bombsite A.
-
A T spawn located in a lower area with stairs, tunnels, and a nearby sniper tower.
Most long-range engagements happen outside, while close-range battles occur in the narrow connectors, back halls, and some of the bombsite entryways.
Main Combat Areas
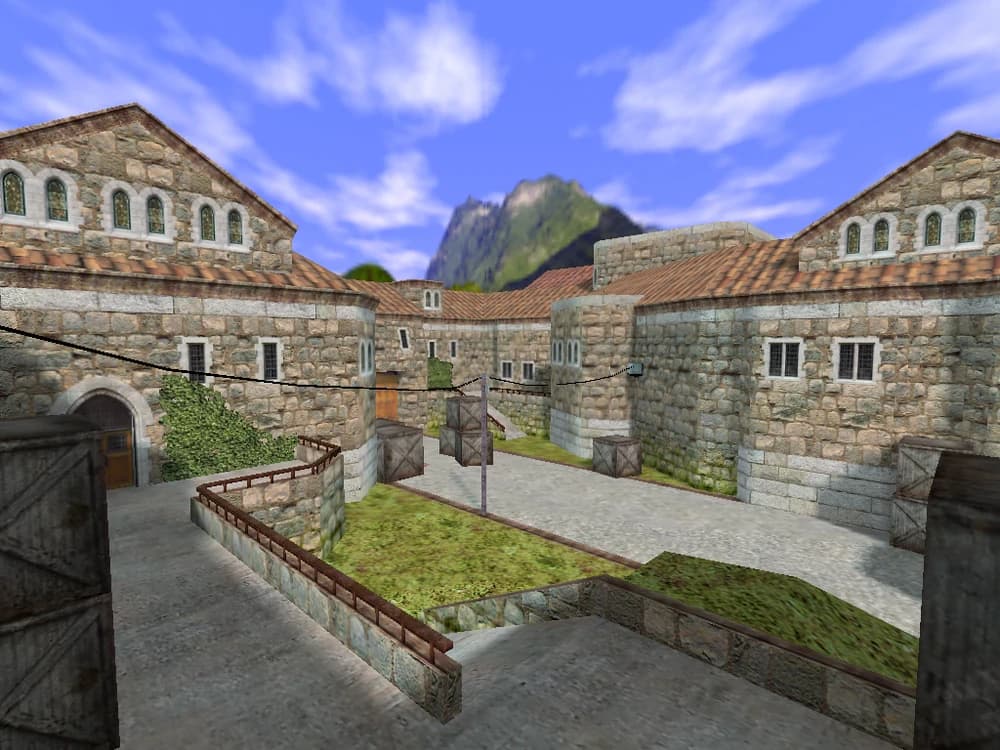
Courtyard and T Tower
Courtyard
The courtyard is the main route for Ts moving toward A. It is open with long sightlines. At the start of the round, Ts using this path often clash with CTs holding angles from near their spawn.
In pistol rounds, Ts may rush the courtyard with speed. However, in later rounds, most players avoid crossing it without rifles or sniper support. The area is exposed to tower snipers, CT snipers, and crossfire from A entrances.
T Tower and Sniper Nests
The tower near T spawn contains three sniper positions:
-
Upper floor
-
Lower floor
-
A small room above the path between A and courtyard (commonly used by CTs)
The upper nest is the strongest. It has a small window that is hard to spot from far away. Snipers here have long, clear sightlines into the courtyard. The lower nest has weaker angles and exposes the sniper more, but it gives an escape option.
Players usually use the Scout early and upgrade to AWP, G3SG1, or SG-550 later.
Counter-tactics
Players push the tower using:
-
Flashbangs to blind snipers
-
Smokes to block visibility
-
Grenades to clear supporting players
-
Flanks from alternate paths
Bots detect snipers inside the tower at any difficulty, but their effectiveness varies. Lower-difficulty bots struggle with long-range headshots, while higher-difficulty bots can kill tower snipers quickly.
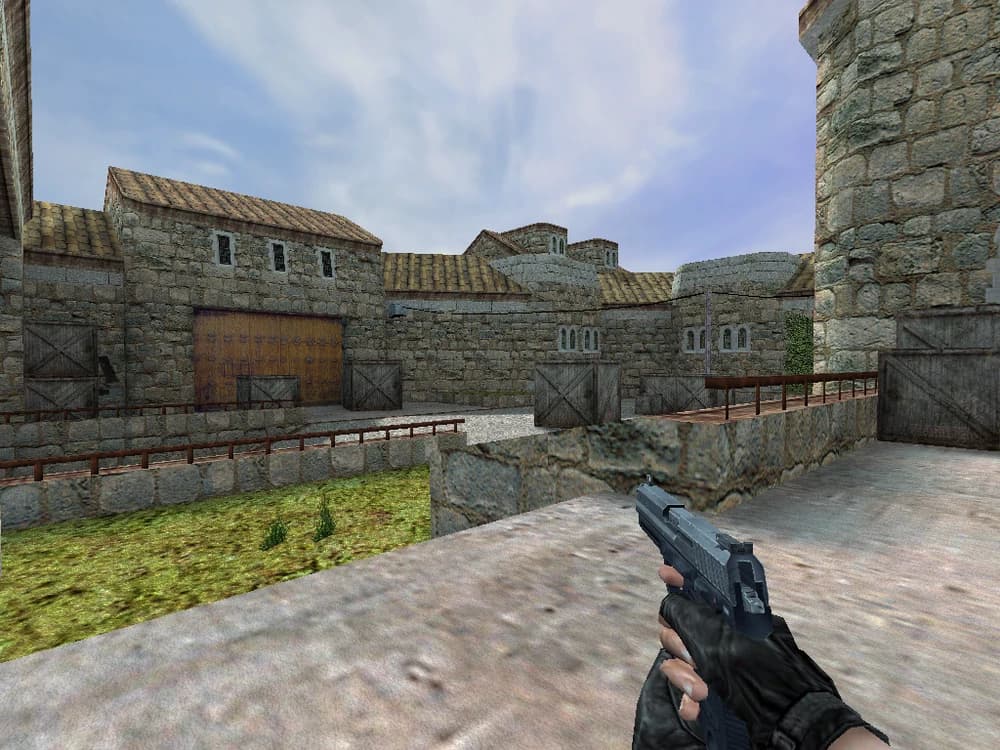
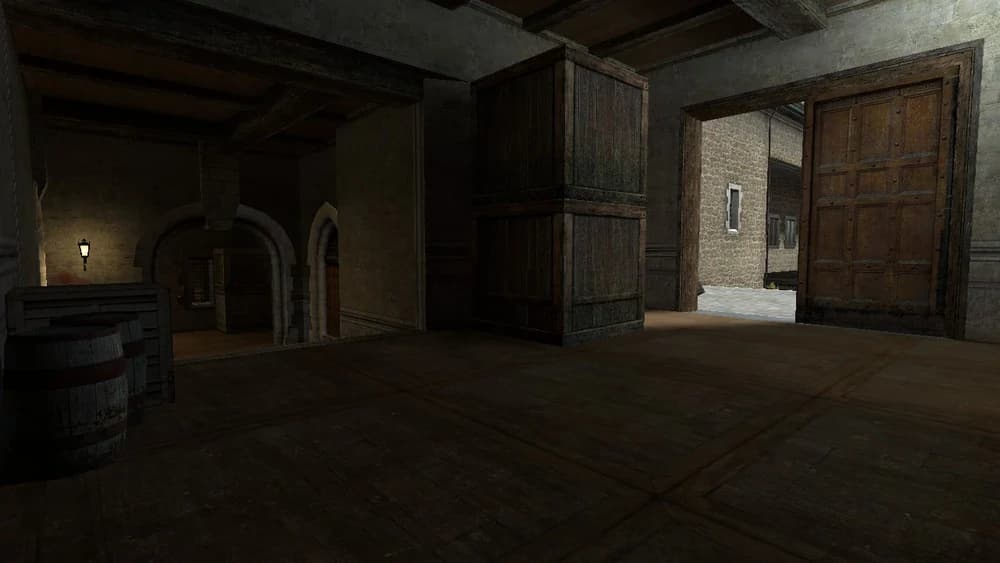
Bombsite A
Position and Access
Bombsite A sits between the courtyard and the connector that leads toward B. Because CTs spawn right beside it, they can defend it quickly. Terrorists approach A mainly through a large, open courtyard or through a side corridor connected to underpass.
Combat Style
A is an enclosed space compared to the rest of the map. Snipers can hold angles from boxes or elevated crates, but close-range rifles often perform better once enemies enter the site. When Ts break through the CT line in the courtyard, A becomes the next major fight.
If the bomb is planted, Ts often hide behind boxes or inside the small rooms leading into the site. CTs usually retake as a group because pushing alone into the narrow entrances is risky.
Key Notes
-
CTs have a faster setup time on A.
-
Close-range weapons perform well inside the site.
-
Snipers struggle in A unless holding long entry angles.
Bombsite B
Position and Access
Bombsite B sits near the CT side, but with more distance between it and the spawn compared to A. Terrorists approach B through tunnels, B long, and a drop. The statue at the center of the site is the main landmark.
Combat Style
B is very open, with limited cover. Because of this, snipers dominate the area once the bomb is planted or when defenders hold the site. Long-range rifles are common in mid and late rounds.
After planting, Ts often spread out across the long angles, forcing CTs to push into open ground. Many late-round duels involve AWP-vs-AWP fights, especially when multiple players pick snipers.
Key Notes
-
Very open, long sightlines.
-
Snipers commonly hold B long and statue angles.
-
Flashbangs and smoke help break setups or defend against pushes.
Back Halls and Secondary Routes
Back Halls
The back halls give alternate access to B, T spawn routes, and parts of the courtyard. These halls are narrow, dark, and enclosed. They favor shotguns, SMGs, and rifles that work well at short distances.
Players must move carefully through these halls. Enemies can hold crossfires or hide behind crates. If players suspect an ambush, they often throw a flashbang or smoke before pushing.
Exiting the back halls is dangerous. There are three exits, all of which can be watched by snipers. A smoke or HE grenade is often used to create a distraction before leaving.
Combat Tips and Weapon Choices for Counter-Strike Cobblestone Map
-
Use long-range rifles and sniper rifles in the courtyard, B long, and tower areas.
-
Use SMGs, shotguns, or rifles in the back halls and tight A entrances.
-
When pushing B, throw smokes to block sniper angles.
-
After planting on B, spread out across long angles to force CTs into open fire.
-
When pushing A, avoid crossing the courtyard without cover.
-
Use flashbangs before climbing the tower or pushing snipers holding long sightlines.
Final Thoughts
The Counter-Strike Cobblestone map remains one of the most distinct maps in the series. Its wide spaces create long-range battles, while its enclosed sections shift the pace to quick, close fights. Understanding how each area plays helps both new and returning players read the map, plan routes, and choose weapons that fit each section. Cobblestone rewards awareness, patience, and strong positioning, making it an important map to learn for any player who wants to grow their tactical skills.
Don't forget to check out Strafe Esports for all the latest news and our X account for the latest content and coverage.
Image source: Counter-Strike Fandom